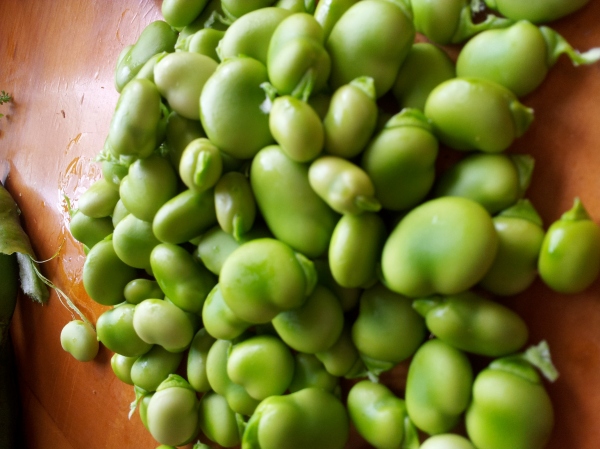
It has been quite a while since my last posting...and I will later let you know what I have been up to. But right now the first harvest of our broad beans has to be celebrated.
Broad beans are one of the most useful and rewarding vegetables to grow for the kitchen and for your garden.
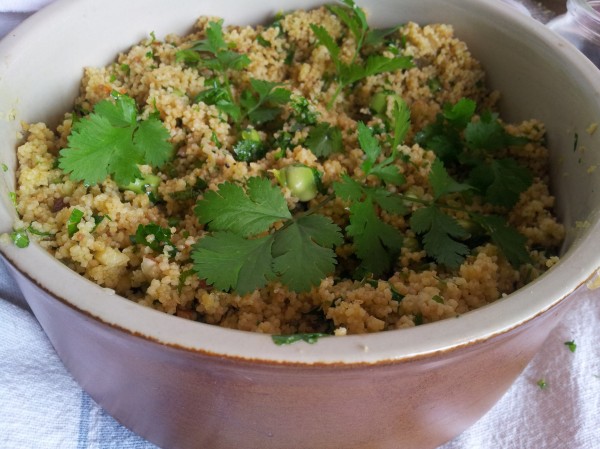
As there weren't that many beans after podding my first harvest, I decided to make a broad bean couscous - that way everyone got to taste a bean or two. And somehow broad beans and couscous just seem perfect partners.
The best thing about this legume Vicia faba is that you can eat every part of the broad bean plant at different stages of growth before the pods are mature.
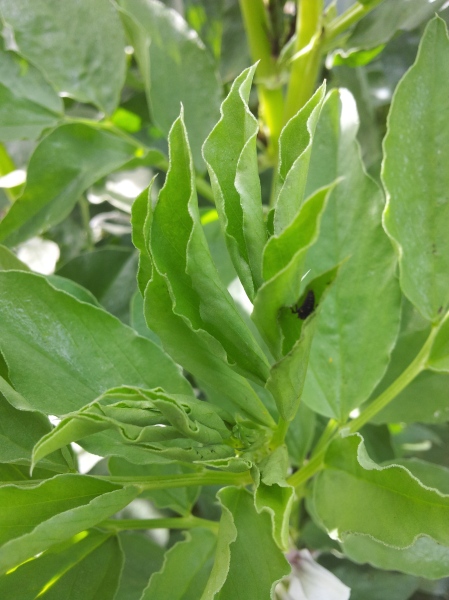
The fresh soft green leaf shoots are delicious harvested for salads or as an addition to stir fry. They have a mild peppery taste.
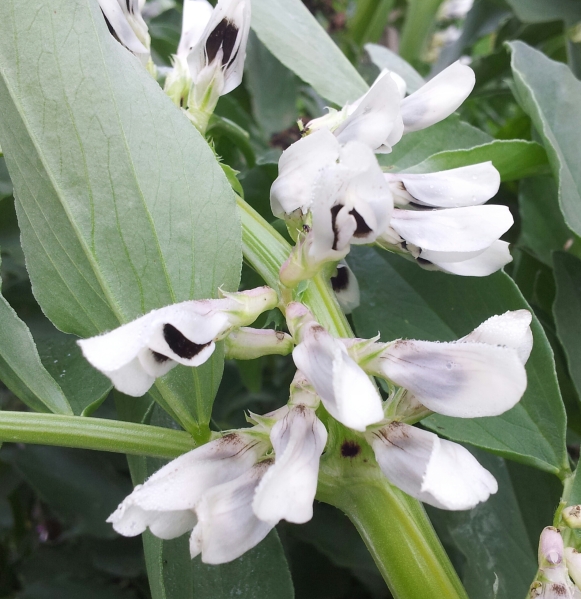
Broad beans flower in early spring, and you can take some (not all or you won't have beans) for inclusion in salads.
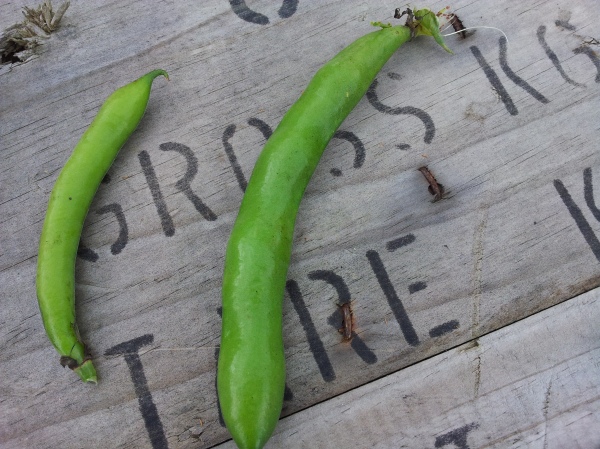
When the bean pods are the size of a pea pod you can use them whole in stir fry or sliced raw into a salad
If you prefer not to eat broad beans or do not have ready access to them then you can use any other vegetable in their place in this couscous dish.
Broad Bean Couscous
Don't you just hate it when Couscous clumps together? I have learn't a couple of tricks that will improve your couscous dish.
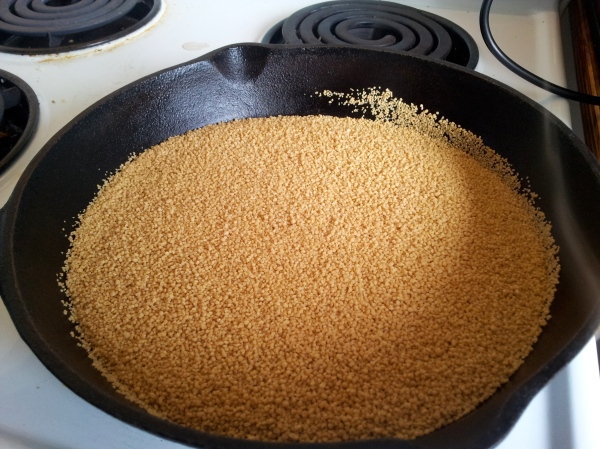
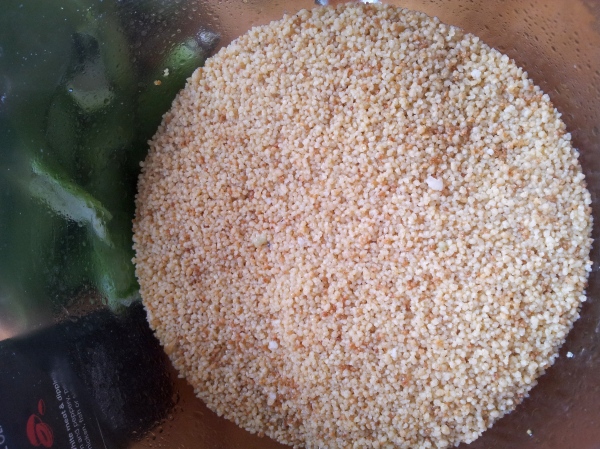
First step is to put 2 cups of couscous into a heavy pan and gently toast until it slightly changes colour but careful not to burn.
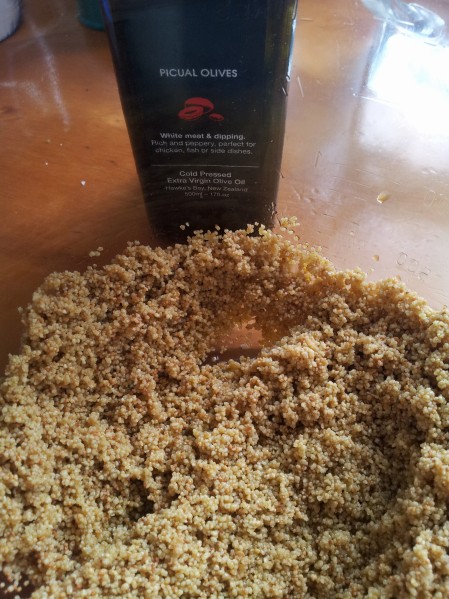
Tip into a bowl and add 100ml of olive oil. The toasting adds flavour and the olive oil will ensure the grains remain separate.
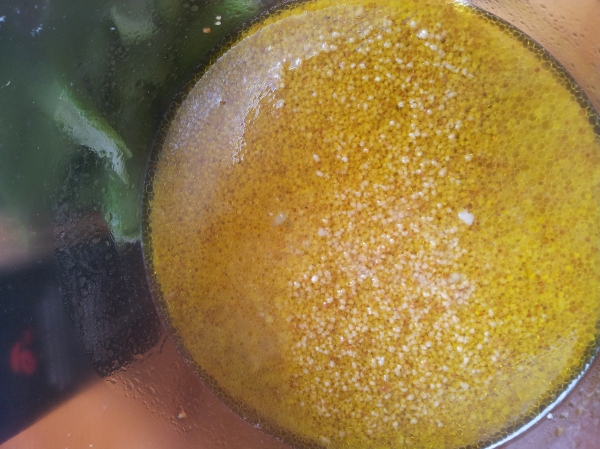
Add 2 1/2 cups of boiling water. At first it looks like soup...
But like magic in a couple of minutes all the liquid is used up. I
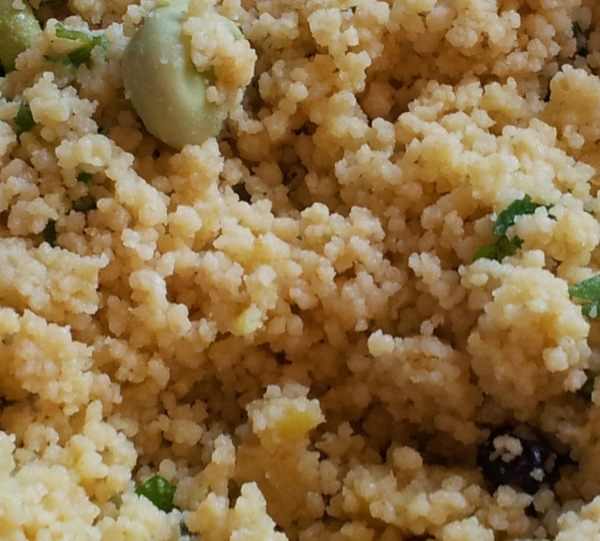
Fluff up with a fork. You now have the base for the salad.
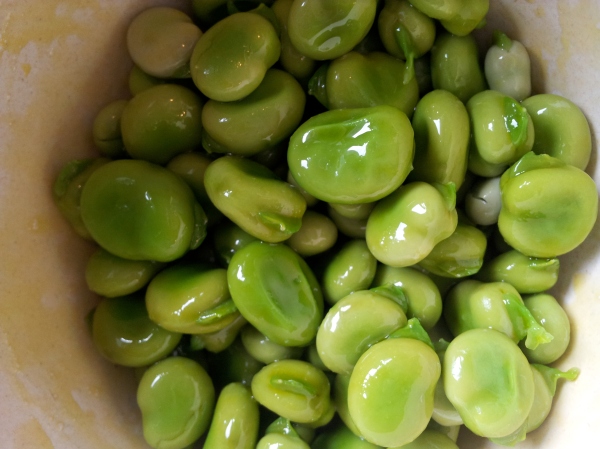
Bring to the boil a pot of hot water to briefly cook the beans. Make sure the water is boiling before adding the podded beans and cook for 30 seconds up to 1 minute. I taste one after 30 seconds and if nearly cooked strain the beans immediately and run under cold water.
If you have large older beans you should skin the beans to avoid that bitter taste of the outer pods. But if the beans are young and the skins not grey then skinning is not necessary. There are bean varieties available that have a green rather than grey skin once cooked. This really assists with presentation issues for the broad bean.
Add beans to the couscous.
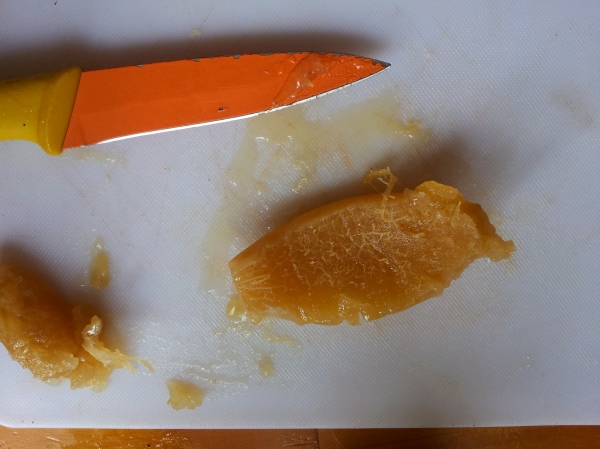
Lemon goes really well with beans so I scraped a preserved lemon quarter of its salty flesh and was left with just the preserved peel remaining. Dice and add along with half a fresh lemon's zest. If you haven't got the preserved lemon - no worries just use the lemon zest from one lemon instead of half.
Finely slice one garlic clove, then squash it into salt flakes. The garlic and salt goes almost liquid.
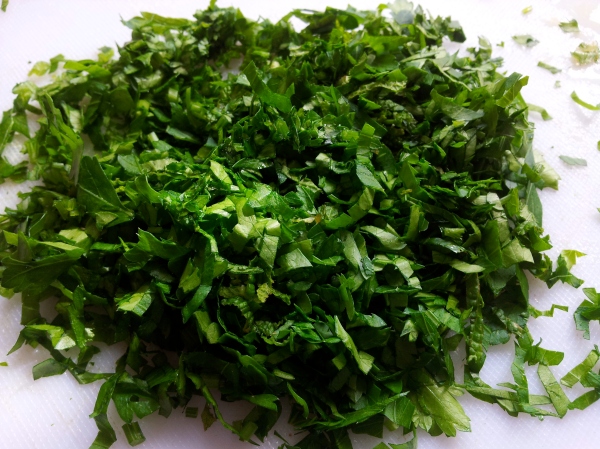
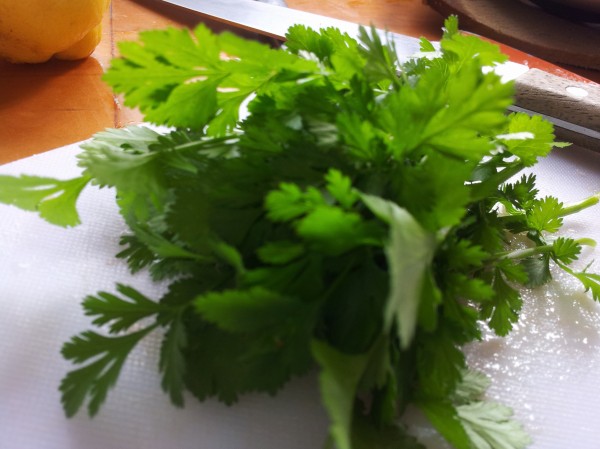
Chop a handful of parsley and a couple of mint tips and add to the mix.
Coriander is also a good addition to the mix and I reserve a little to sprinkle over the top of the finished couscous.
Now squeeze the juice from one lemon (or more if needed once you taste it), and mix with one tsp of honey. Mix through the couscous and add a good dollop of olive oil. You should taste now and you may need to add more lemon juice and olive oil. The taste I look for is the balance of sharpness of lemon with the creamy oily taste of olive oil.
I like to add a touch of dried fruit that contrasts nicely with the beans and lemon. I used 2 tablespoons of currants that have been soaked in white balsamic vinegar (but you could use ordinary balsamic vinegar or apple cider vinegar). The reason you soak the currants in vinegar is to add bite to the sweetness and to plump them up a little.
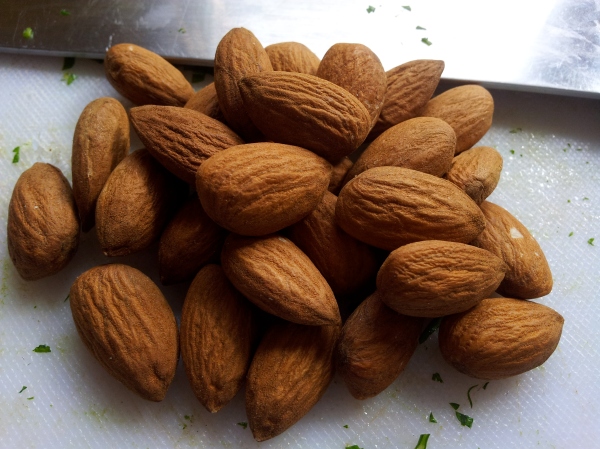
Add some chopped and toasted almonds to make your couscous complete.
You can add or change what I have suggested with what you have in your pantry cupboard. Roasted pumpkin cubes that have been sprinkled with ground cumin could be an alternative to the beans. And after the broad bean season you can add some sliced string beans or snow peas. Cooked chickpeas are also a tasty addition to couscous.
The good thing about this dish is that you can prepare it ahead of time - in fact it will improve if left overnight. We had this with roast chicken, roasted new carrots and asparagus but it will work in combination with any meat, fish or vegetable dish.
Over the past few months my focus has not been on cooking but on gardening. I decided this year that I would increase my knowledge either in nutrition or growing food. In the end I chose gardening as I felt the greatest nutrition comes from growing food in healthy soil and reducing the time from picking to the plate. I am attending an Agriculture NZ Organic Horticulture course once a week and already I realise just how much I don't know about growing.
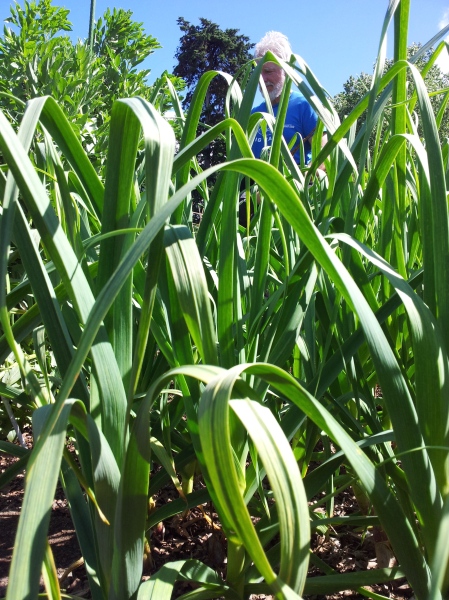
Last week I learnt that you shouldn't plant beans and legumes with garlic and onions... and that was exactly what I did this year at our garden plot. Our garlic is growing magnificently and next to them our beans seem to be doing well. Why don't legumes like the onion and garlic family? Apparently what makes garlic so good for us - killing bacteria - affects the bacteria that fixes nitrogen in the legumes. The beans have started to get rust but are producing well. I will keep an eye on them and next year keep the two apart - and they need a distance of over a metre.
Broad Beans are easy to grow and King's Seeds have a dwarf variety available that just grows to one metre if you are short on space.
But what if you have a real dislike of Broad Beans? Then think about planting them anyway before Anzac Day (April 25th) - let them grow up in winter and just as they begin to flower dig them back into the soil. You won't get to eat the beans but your soil will receive a good feed of organic matter and a dose of nitrogen ready for an early summer crop you just love to eat. It will take just a month in spring for the bean materials to break down. Before digging in - remember you can utilise the peppery green shoots in a stir fry or late winter salad. You will have your revenge on those beans your mother made you eat as a child and your soil will thank you!
JEANNIE'S KITCHEN HAS MOVED...PLEASE FOLLOW ME ON
Jeannieskitchen.me

