“No one is born a great cook, one learns by doing.”
― Julia Child
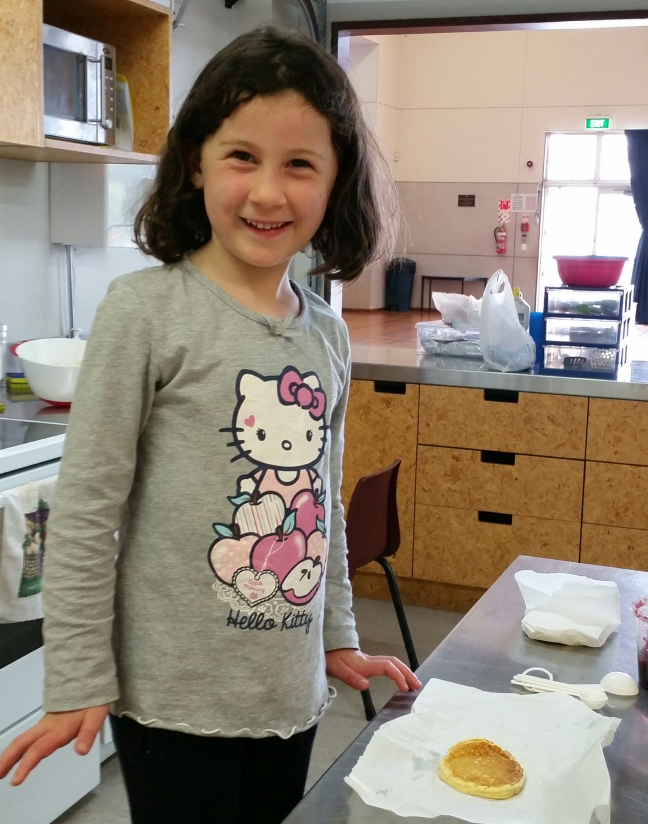
When I offered to take cooking lessons for Beau’s classmates in year zero (new entrants) at Ponsonby Primary, I was a little unsure just how it would go. I have been surprised to see how the children have loved the experience.

The hour long classes with groups of two or three have been my first go at teaching cooking. You could say I was diving into the deep end by starting with five year olds. But it has been such a delight. How gratifying it is to see young cooks in the making take such pleasure in making pikelets.

I chose pikelets because they are quick, easy to make and it’s hard to fail. Most children know of or have helped make pancakes before. Pikelets belong to the world wide Pancake family and are Welsh by origin. In England they are called Drop Scones.
Nan’s Pikelets
Ingredients:
1 heaped cup of flour
1 tsp baking soda
2 tsp creme of tartar
pinch of salt
2 Tbsp sugar
1 egg
Milk to mix into a batter*
*Milk Kefir or buttermilk used instead of milk makes an even lighter pikelets.

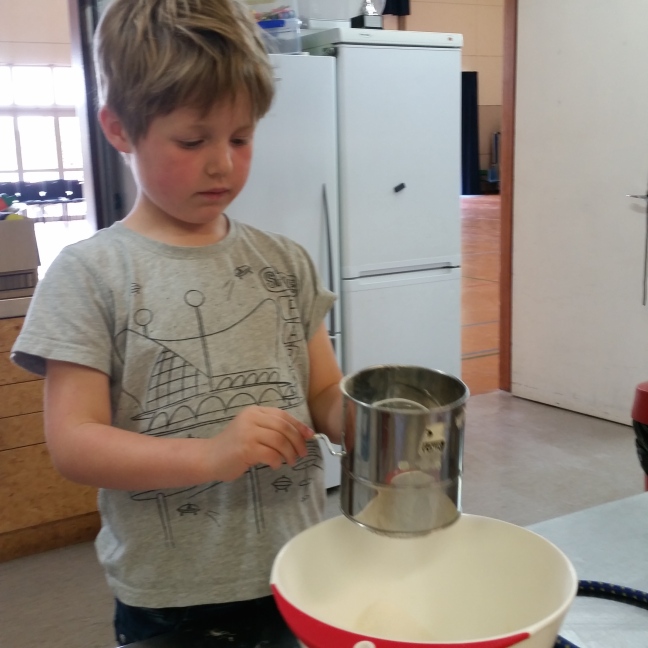
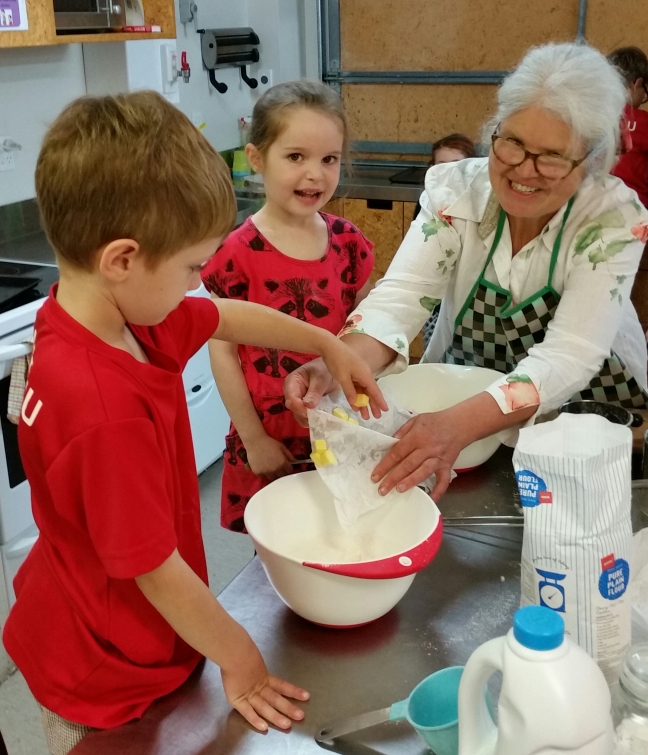
Next the flour, salt and raising agents (baking soda and creme of tartar) are sifted for two reasons: to mix thoroughly and to add air to make the pikelets light.
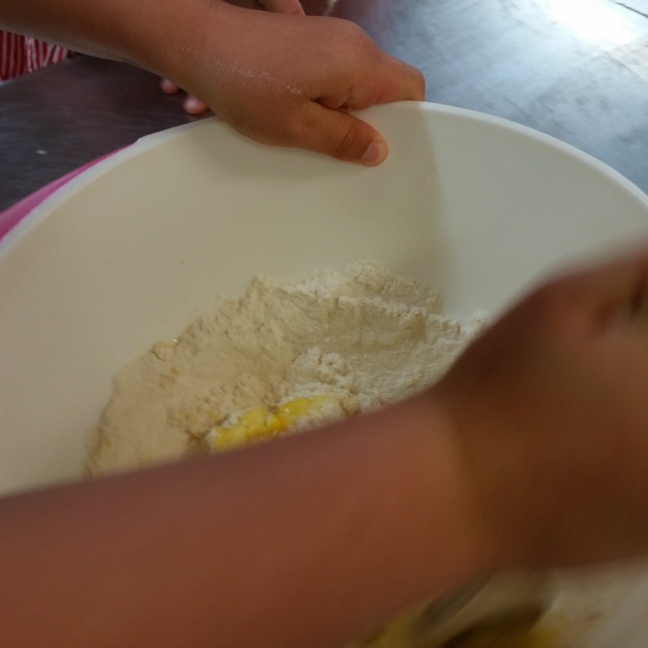
Add the sugar and mix through the sifted flour. Make an indentation or well in the flour and break in egg and about half a cup of milk and mix to a batter.
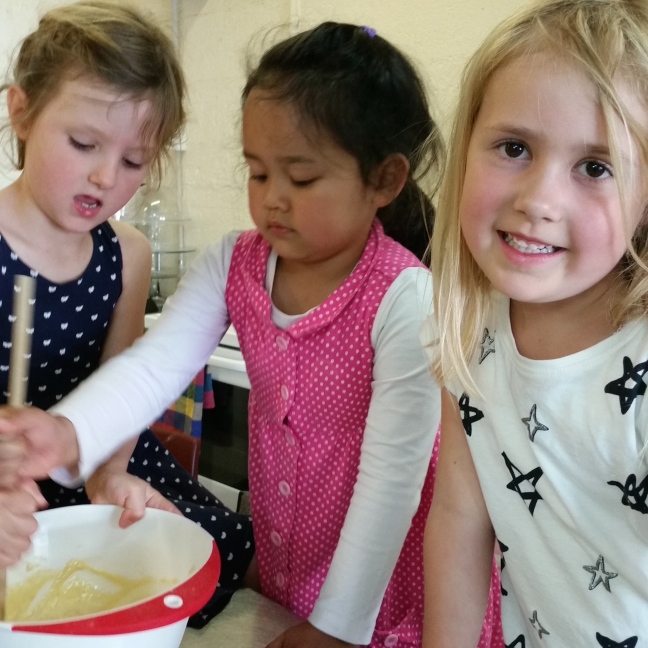
One child would hold the bowl and the other would have a go at stirring. This was to avoid disaster if the bowl and mix hit the floor. Then I would show how to beat holding the bowl in one arm and quickly whipping the batter using a wooden spoon to make a smooth silky batter telling them that this is how to mix once they get bigger.
Add more milk if necessary to make a consistency that is not too thick as to stay on the spoon or too thin to spread too much in the pan.

The mix needs to sit for about 10 minutes until bubbles appear in the batter. While we wait for the mix to double I heat up pans. Getting the heat right is the most difficult part of the process.

It’s best to make pikelets on a cast iron griddle or girdle because its flat plate surface makes flipping a lot easier. Next best is a cast iron pan. Cast iron takes longer to reach heat than a steel pain but will produce a more even heat. The pan needs to be sprayed with oil or do it the old fashioned way of a little butter on butter paper and wiping around the pan.
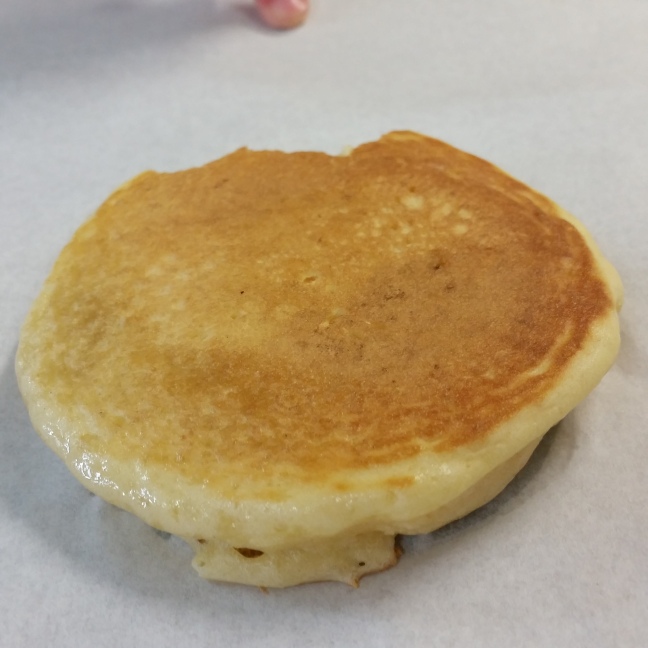
The first pickles we make is a tiny version to test whether the temperature is right.

You can cook a number of pikelets at once but I felt for our class we should concentrate on one at a time.
We wait until some of the bubbles begin to pop indicating that the mix is cooking and the bottom is browning. Time to flip….

I show them first time how to do it, help them flip the next, and then they get to flip on their own.


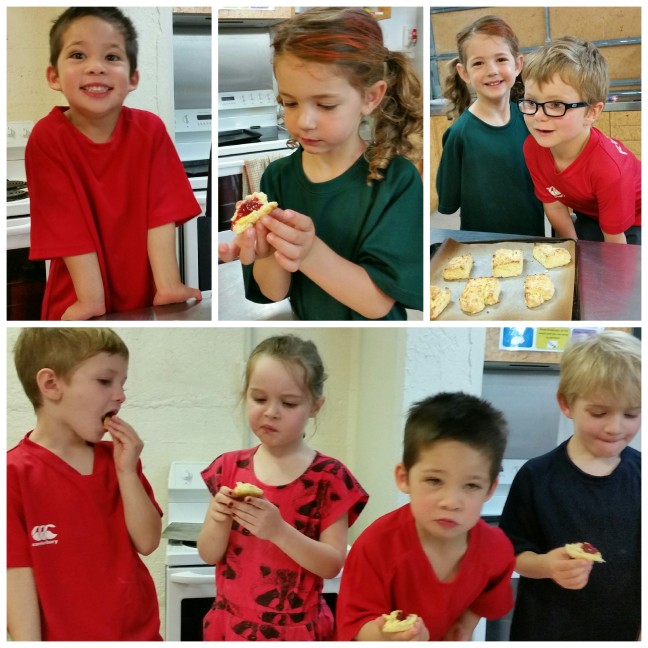
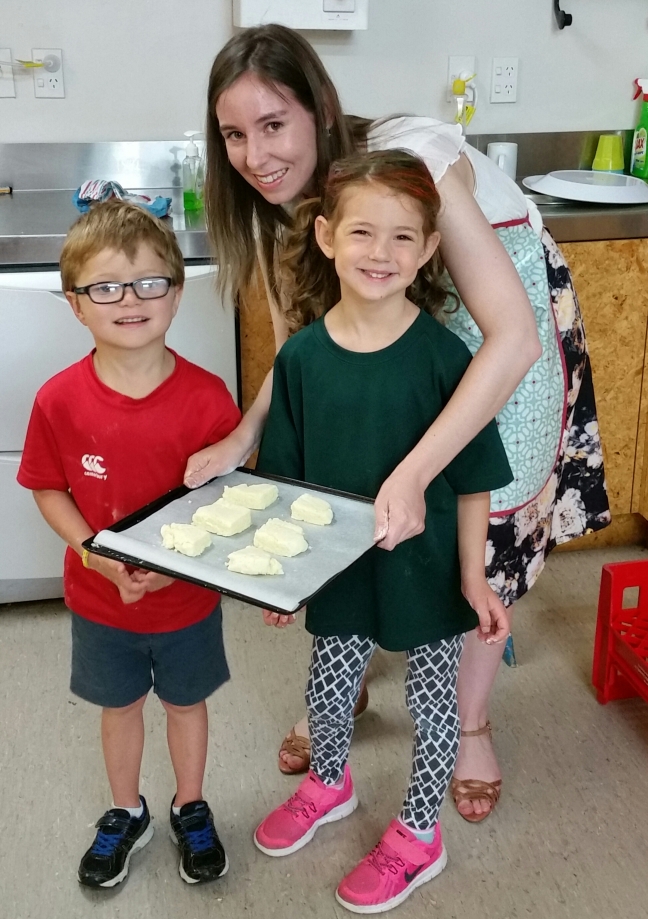
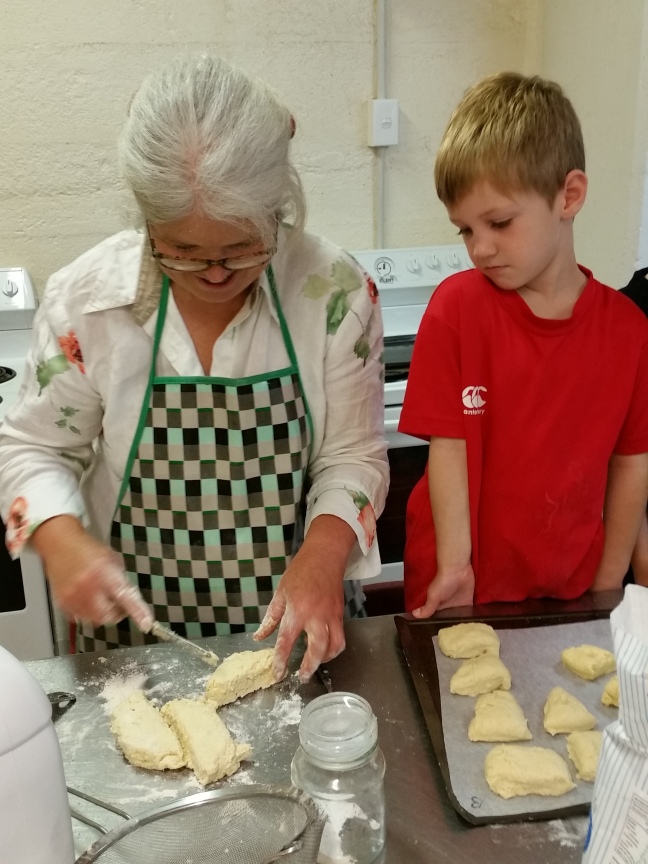
I found I was fast running out of time. It was decided that on the final Friday I would have six children and make scones for the whole class so they can enjoy sharing food with their classmates. I wanted them to experience that sharing is the most rewarding part of cooking. Scones are great for a large crowd and we made 36 scones with every child making 6 scones each.

Thankfully Susie offered to help and teaching assistant Miss Stevenson made the gluten free scones with Holly and Remy who have gluten allergies.
I had previously discounted making scones with the children because scones can too easily be overworked resulting in a tough, dry result. I would need to supervise the mixing closely but the rubbing in butter into flour would be fun for the children to experience.
First of all we did the grand hand wash and told them that if they touched their faces they would need to wash again especially because they were using their hands in the mix. Isn’t it always the way, if told not touch your face you suddenly get an itch? The more Jack and Luca thought about it the itchier their noses became. Suzie patiently would go through the washing hands process again and again but they all now know the importance of clean hands when preparing food.
Scones
(Makes 12 – preheat oven to 200ºC)
2 cups of flour (or a mix of 1½ white and ½ wholemeal)
4 levelled off teaspoons of Baking Powder
100 grams of butter
Pinch of salt
*Milk to mix to soft dough – approx 1 cup
Extra flour for patting out and cutting
*Milk Kefir makes fantastic scones as would buttermilk. As kefir is like yoghurt with a tart flavour I usually add 1 tsp of sugar to the flour if using kefir.

Once the flour, baking powder and salt has been sifted, its time to rub in the butter. This can be done in a food processor but I find the end result is better if done by hand.
Always use cold butter and dice the butter into 1-2 cm cubes.

I tend to smear the cubes into the flour and then rub mix between fingers to reduce the butter to a breadcrumbs consistency. The children worked their bowls of butter and flour beautifully.
The messy part over, they all washed their hands ready for making the dough.
I showed them how to use a table knife to mix in the milk by cutting through the flour rather than stirring. I just pour the milk rather than measure it out. We mixed until all the flour could form a ball easily.
With scones the mix should be wet rather than dry (wetter than you would for pastry). A light covering of flour on the work surface will ensure they don’t stick.
No need to roll just lightly pat down the ball to about 2.5 cm in height and cut into 12 and place on a cold tray either sprinkled with flour or on a sheet of baking paper.
Bake for 10-12 minutes – the smell test is the best timer you can use. Once you smell them cooking they are usually cooked.
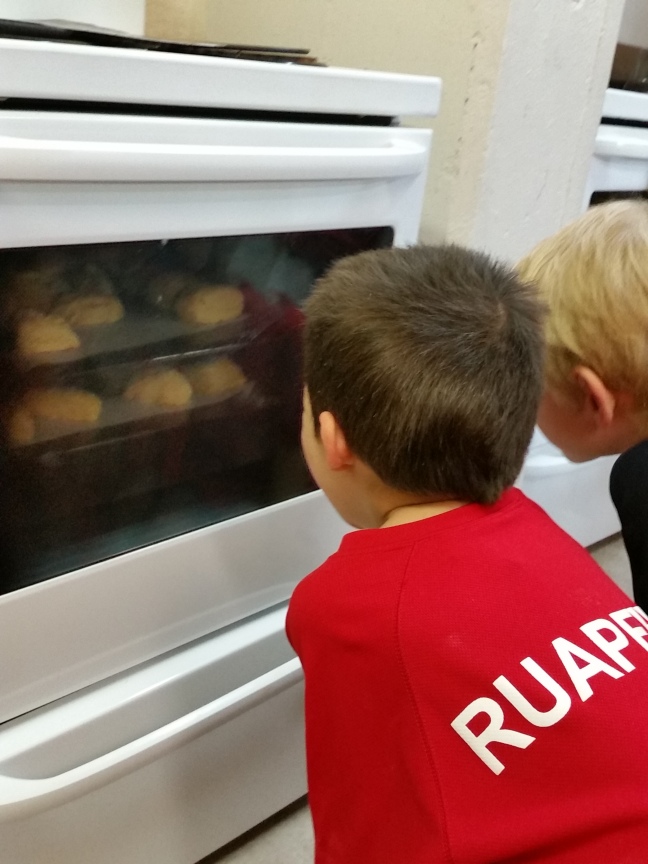
Out of the oven, the next job was to put butter and jam on the scones to share with the class.

One thing these classes have taught me is not to underestimate what children can do on their own. My final group of six certainly made great scones and we wrapped up one of their own scones for home.

Children introduced to the enjoyment of cooking something for themselves and their friends will create good food memories that hopefully will inspire them to be creative in their future kitchens.