In the 1990’s I was making three school lunches and my children loved The Teenage Mutant Ninja Turtles series. Now that our grandson Beau is going to school I’m back to making school lunches and his favourite characters are the Ninja Turtles. It’s true…what goes around comes around.

To add variety to the daily lunch I’m once again baking on a regular basis. I’ve promised myself he won’t be getting packaged treats because home baking is chemical free. I also know just how much sugar, fat and salt has been included. Besides home baking tastes better and costs less.
Our two favourites, funnily enough, are recipes from New Zealand cook Lois Daish.

Wanaka Gingernuts I discovered during a visit to our Broad Bay friends Frizz and Peter. Frizz told me her gingernuts were a Lois Daish recipe. One day she was planning on making a batch of gingernuts but discovered she had run out of plain flour. The only flour in the house was spelt, so spelt was used instead, and the resulting biscuits were superior. I decided to follow her recommendation because I wanted to recreate the same crunchy light biscuits she made. If you haven’t got spelt flour you can make them with plain flour too.
Another positive of using spelt flour is that often gluten intolerant people can handle this ancient grain. I usually buy the wholemeal spelt over the white spelt. Spelt flour is double the price of ordinary flour so I tend to only use it for these biscuits and other special baking.
- Wanaka Gingernuts
- 100g butter
- 225g caster sugar
- 1 egg
- 1 Tbsp golden syrup
- 250g spelt flour
- 1 tsp baking soda
- 3-4 teaspoons ground ginger
- (crystallised ginger and chocolate as topping optional)
Preheat the oven to 170 degrees Celsius or 160 if you have a fan oven.

To cream butter and sugar is to beat until the colour lightens and the sugar grains melt into the butter.
Cream butter and sugar until pale in colour.
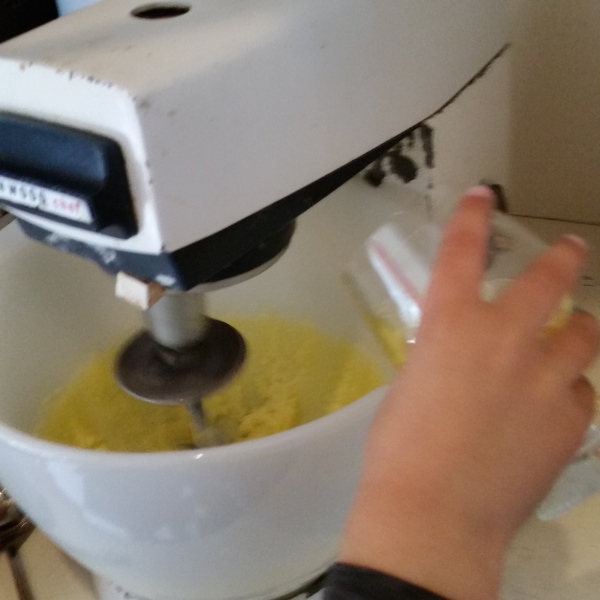
Add egg and beat again.

Put the dry ingredients together into a large bowl and sift.

Add to the creamed mixture and mix to a soft dough in the cake mixer or by hand.
Take out spoonfuls and loosely shape into balls, but do not flatten out. Leave space as they spread and you will need two oven trays lined with baking paper.
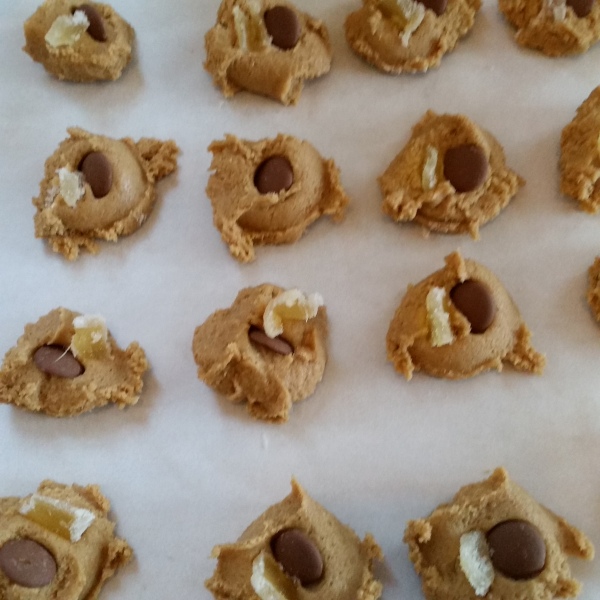
I sometimes add sliced pieces of crystallised ginger and if I have chocolate I also add that as ginger and chocolate is a great combination. But these ginger nuts with 3-4 teaspoons of ginger are delicious just plain.
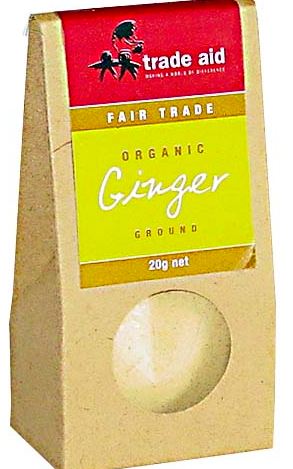
It’ll make all the difference to the biscuits if you use a really good ground ginger. I like to buy my ginger from the Trade Aid shop because it’s a win/win situation. The ginger is of a high quality and organic that will not only give a warming spicy taste of ginger to the biscuits but will guarantee the small scale farmers in Sri Lanka a better living.
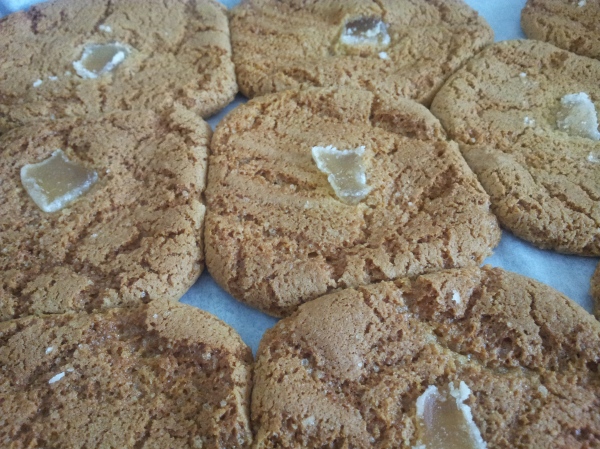
The ginger nuts will puff up and then collapse into characteristic fissures. Bake for 15-18 minutes until well baked and deep golden. You have to keep a keen watch at the end of the cooking because you want them to have a crunch but not to burn. Cool on a wire rack before storing in an airtight container. Sometimes to ensure maximum crunch I place the wire rack back in the cooling oven with the door left open. (Peter prefers them crunchy on the outside edge and slightly chewy in the middle so I don’t always do the maximum crunch method.)

When Frizzell made them they looked perfect. Mine seem to come out looking different each time but don’t worry about that, they taste the same.
An even easier recipe is the Number 9 Fruit Loaf. This loaf used to be a daily offering at Lois Daish’s cafe “Number 9” in Wellington and I got the recipe from The Listenerwhen Lois used to write a weekly column. I have since lost the recipe but I’ve made it enough times in the past to recreate it recently.
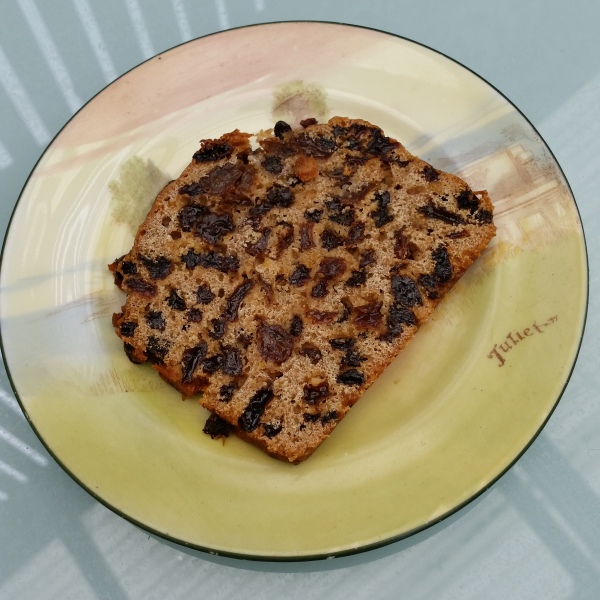
I like #9 because it doesn’t use butter or any other fat – it’s almost all dried fruit.
Number 9 Fruit Loaf
*450 g dried fruit
1 cup of hot Earls Grey tea
1/2 cup of brown sugar
1/2 cup of white sugar
1 1/2 cups of high grade white flour
1/2 cup of stoneground wholemeal flour (or spelt)
1 tsp baking powder
1 tsp ginger
1 tsp of mixed spice (optional – sometimes I double the ginger and leave out the mixed spice)

* The mixed fruit combination can be any mix of fruit you like. I usually like to have at least 100g of currants, add a couple of tablespoons of citrus peel and sometimes cut up crystallised ginger. I usually use what I have in the pantry like dates and prunes but the standard is just a mix of currants, sultanas and raisins.

Let the fruit soak in the hot tea and the sugars for a minimum of 30 minutes, stirring to dissolve the sugar.
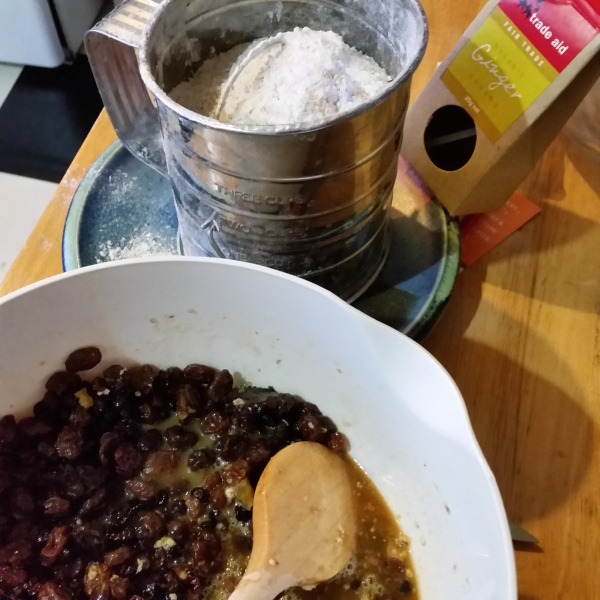
In a separate bowl put together the dry ingredients and sift to mix the flours with the spice and baking powder. If there is any wholemeal flour left in the sifter or sieve make sure you add it back into the dry ingredients.
Next beat an egg and add to the fruit mix.
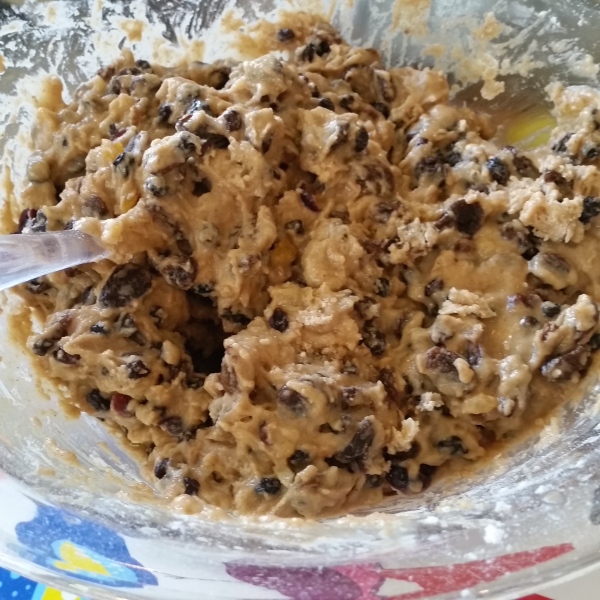
Finally mix in the dry ingredients. It’s best to mix in half the dry ingredients first and then add the remainder.
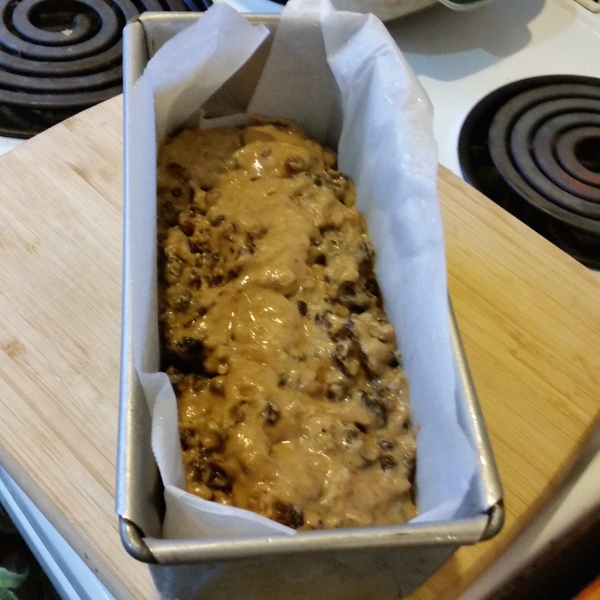
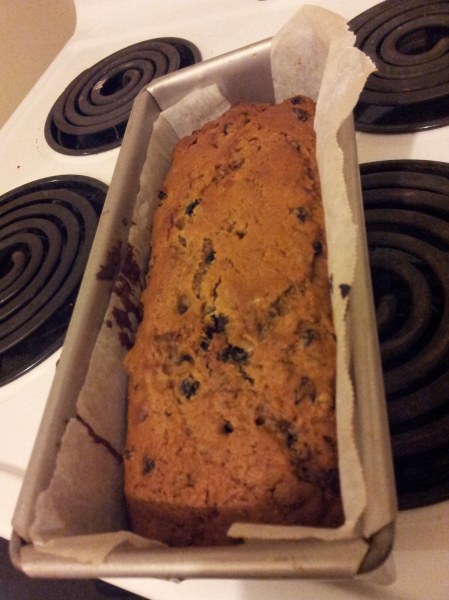
Line a deep tin with baking paper, then spray with oil before adding the cake mix. I spoon some into each corner first to keep the paper at the ends in place.
I bake it in an oven at around 160-170 degrees Celsius and it takes approximately an hour. In the last quarter hour you may need to cover the top with a piece of foil to keep the top from browning too much.
It’s cooked once you smell it but it’s important to also test with a long fork or skewar. If it comes out cleanly take out of the oven, allow to cool, then simply lift it out of the pan by the paper and allow to completely cool on a wire rack.
This loaf will keep for a week and as it gets older we slice it thin and spread with a little butter.
A note about sifting…
It’s important to sift the flour to ensure an even mix of any raising agents and spices through the flour, but it’s also important to mix air through the flour as this action adds lightness to your baking.

You don’t need to have a sifter you can do this by fluffing the flour with an egg whisk or shake through a sieve, but it’s a step you shouldn’t be tempted to miss out.

It’s amazing how time just flies by – it certainly doesn’t feel like 23 years since our youngest son Francis started school and I was baking for three school lunches. Well…I have to admit with a part time job and three kids I couldn’t always find the time to bake but it was always greatly appreciated when I did.
Moofins – Nana’s Bran Muffins
It’s a hard job finding a perfect bran muffin, but my friends loved the ones I made recently for brunch and have put in a request for the recipe.
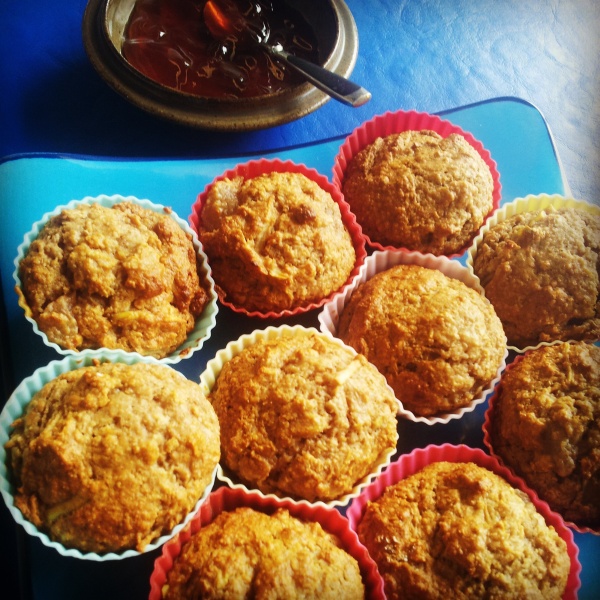
When placing bran muffins in baking history it’s natural to think of them arriving with the whole food revolution in the 1970’s because of their high fibre content. But the earliest recipe comes from an 1857 cook book published in Philadelphia, and was raised by yeast like the English muffin. In the 1920’s Fannie Farmer of the Boston Cooking School introduced them as a quick bread option using baking soda as the rising agent. In the late 1930’s baking powder was added to make them even lighter as we prefer them today.
Its name is thought to be derived from the low German muffen meaning “small cakes”, but was first printed as Moofin…I kind of like Moofin.
Some of you may remember Manual Training while at primary school. The boys did woodwork and the girls cooking. I’m sure my sister Kerry would have preferred woodwork to cooking and some of the boys on the bus wished they could be taking home edible rewards for their work, but it was the 1960’s so there was no choice in the matter. I remember the small basket I would take containing an enamel pie dish, and a crisp white apron and headgear sewn by my Mum (to the required pattern). It was here I was introduced to bran muffins and the family got to try plenty of them as I perfected my baking skills.
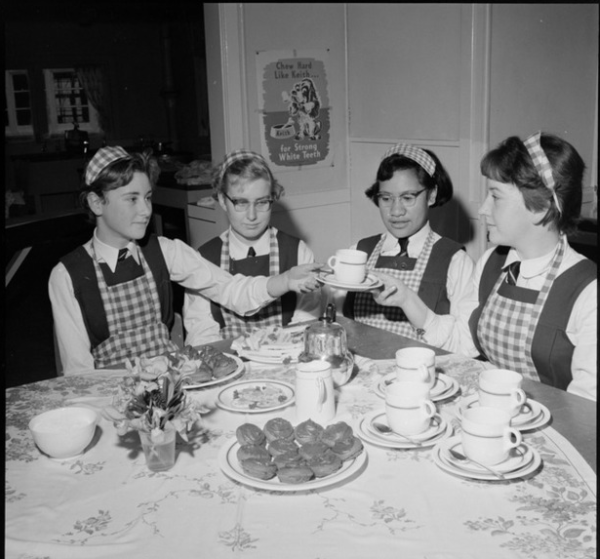
These students are wearing the same pattern aprons and head gear as those we wore at Manual Cooking classes but ours were white cotton Students at Wellington East Girls’ College, with cakes and tea that they have made in a Home Economics class. Negatives of the Evening Post newspaper. Ref: EP/1958/2761-F. Alexander Turnbull Library, Wellington, New Zealand. http://natlib.govt.nz/records/232563
I’ve been reacquainted with bran muffins at one of our cafes here in Auckland, the Foxtrot Parlour in Ponsonby Central. They do the best bran muffins and I have tried to recreate them using the recipe I discovered in a NZ Gardener publication. I have altered the recipe a little but recognise that Nana from Rangiora has given me a fine base recipe so I’ve kept true to the original recipe name.

Nana’s Bran Muffins
Ingredients:
50g butter melted
1 heaped tbsp golden syrup
1 egg beaten
1 cup of kefir, buttermilk or milk
1-1 1/2 cups of grated apple (one large apple will produce this quantity)
Handful of preferred dried fruit. I use raisins mostly but have used chopped up dates, currants or cranberries.
As many chopped walnuts as you can spare – as little as 1/4 cup up to about a cup.
1 cup self raising flour
1 1/2 cups of bran flakes or oat bran
1/2 cup sugar (brown or white)
1/4 tsp salt
1 tsp ginger (we love ginger so I often put in 2 tsp)
1 tsp baking soda

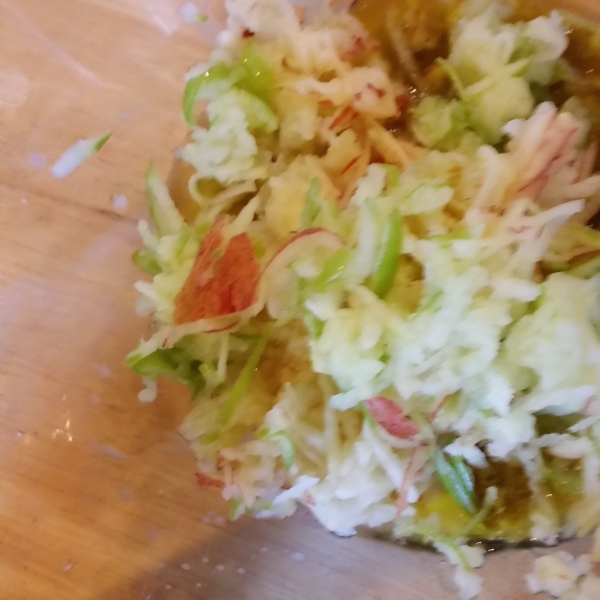
Mix golden syrup into melted butter to make a liquid. Add grated apple immediately to this mix to prevent it from discolouring. Next add in extra dried fruit and chopped nuts, the milk or kefir and beaten egg to this mix.
Put all the dry ingredients together except for the baking soda.
Just before adding the dry and wet ingredients together, stir the baking soda into the liquid mix. You want the baking soda to start reacting but not to be completely spent.
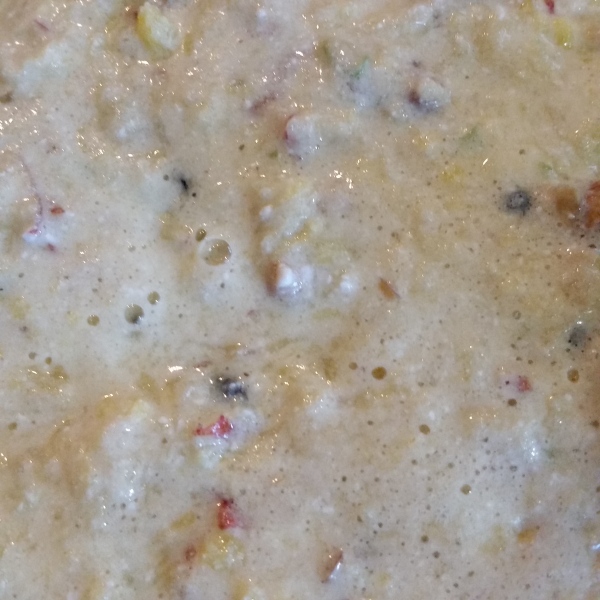
Now gently fold the dry ingredients into the bowl of wet ingredients. It’s important with muffins not to over mix as this makes them tough.
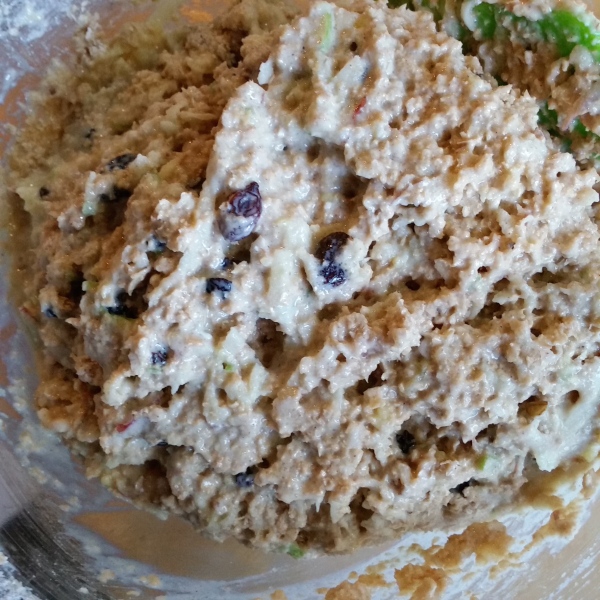
For those of you who are manufacturing your own kefir, I’ve found my muffins have improved since using it in the mix. They seem to be lighter and softer for some reason.
I spray or butter the muffin tins really well as the cooked muffins can be tricky to get out. Using a dessertspoon I spoon the mix into the patty pans nearly to the top but allow room for them to rise. If the mix is very moist and the pans are filled too high they are likely to spread over the top of the muffin tins rather than rising up to a mound…making them difficult to get out of the pans in one piece. Alternatively you can use paper or silicon cases, but I prefer the metal patty pans.
To add a little luxury I sometimes slice up some damson paste and pop into the top of the uncooked muffin mix so when you open up the muffin there is a little bit of softened jelly in the centre – yum. I have used quince paste the same way.
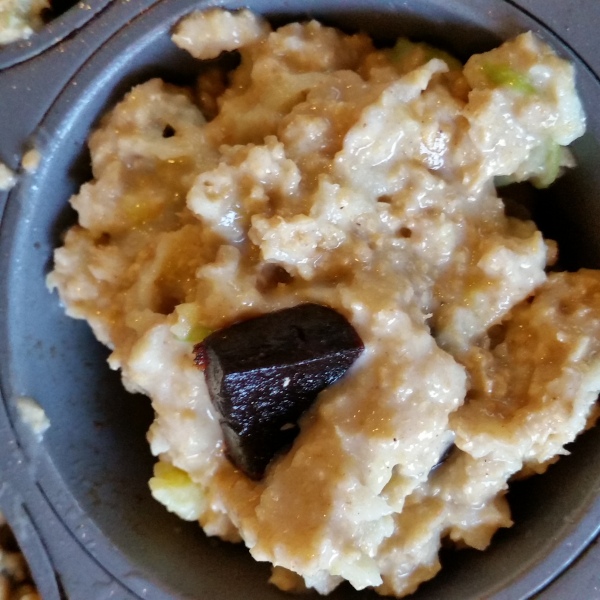
Bake for 12-15 minutes at 160C. Once cooked… leave to cool slightly, then run a knife around the edge of the muffin. Leave until cool enough to handle and then gently release them from the tins and put onto a wire rack to cool.

Usually the family is lining up to eat them while still hot. They freeze well for future use.
These muffins are moist so no butter is needed …but butter is also nice. You can offer jelly or jam for those who like a sweeter taste but I prefer them as they are.

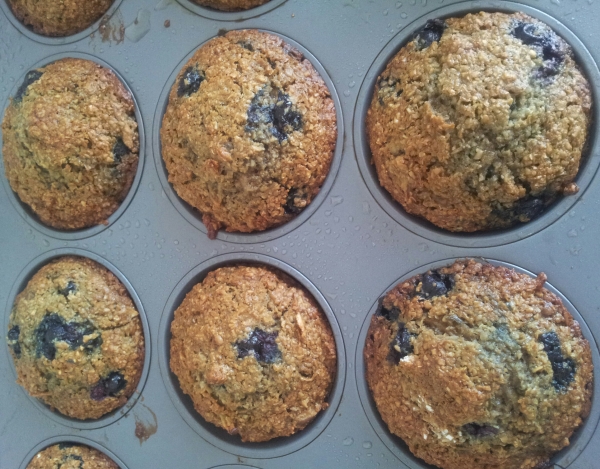
You can replace the apple with any other fruit or vegetable but I really like the apple. I usually vary them by the added fruit or nuts. Instead of paste you could pop in a slice of crystallised ginger. If available I use fresh, frozen or dried blackcurrants or blueberries.
I usually try to use oat bran rather than wheat bran because oat bran has more nutrients, but it’s not so easy to find. Oat bran makes a lighter coloured muffin and a nuttier flavour. Always buy bran in small quantities because it can go rancid very quickly. An idea is to keep it in the freezer if not using regularly.
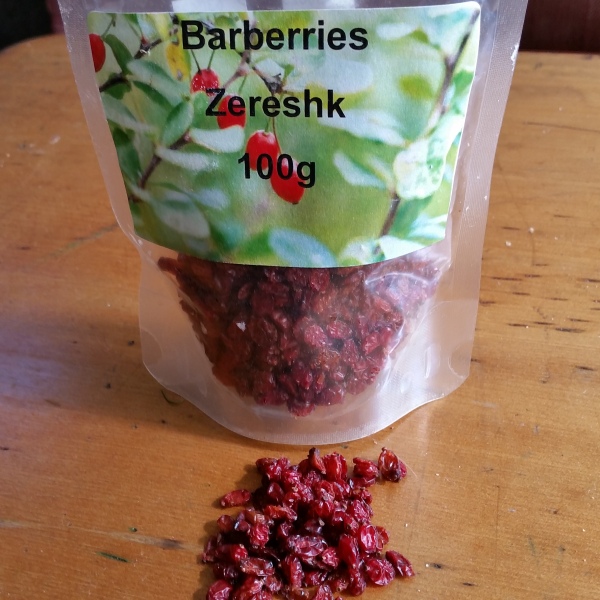
My latest find is dried Barberries which are the size of currants but have twice the zing and can be found in specialty stores. It’s a product of Iran and could be under the name Zereshk. These little jewel like fruits were the something special I added to the muffins I served my friends at brunch.
The muffin was born in the USA and are taken seriously enough to be considered as state symbols. The corn muffin is the official state muffin of Massachusetts, the blueberry muffin of Minnesota, the apple muffin of New York and New England claims the bran muffin. The New England bran muffins tend to include molasses where my recipe has golden syrup. Treacle or molasses would add a deeper flavour but be careful not to overdo the molasses and a good compliment to molasses or treacle would be ginger.
I have always preferred the bran muffin to the cakey muffin that is offered in a lot of cafes. I believed bran muffins must be a healthy option with all that bran.
But then I read Sally Fallon’s “Nourishing Traditions”. It’s true bran as the outer coating of a grain contains most of the nutrients and fibre. But it also contains phytic acid (an organic acid in which phosphorus is bound). Untreated phytic acid can combine with calcium, magnesium, copper, iron and especially zinc in the intestinal tract and block their absorption which could lead to mineral deficiencies and bone loss. Ironically all that roughage could result in irritable bowel syndrome long term.
Sounds terrible doesn’t it? But this is unlikely to happen if you consume the odd bran muffin… you would need to be having a high bran diet and eating bran muffins every day.
Most grains (including gluten free grains like Quinoa) have phytic acid and it’s useful to know that this acid can be neutralised or treated by simply soaking the bran for 7 hours in warm water to break down the phytic acid before digesting the grain or bran. By adding a little whey, kefir or a squeeze of lemon juice will ensure an ideal environment for enzymes, lactobacilli and other helpful organisms to live in. Another benefit of soaking grains is that various vitamins will become available when we digest the grains that wouldn’t have been otherwise. For an easy improvement to your porridge visit my post of September 2013 A Big Soak.
I have attempted making these muffins by pre soaking the bran but they tend come out heavy. I will keep experimenting and if I’m successful in making a soaked bran muffin closer to what this recipe delivers I’ll let you know.

In the meantime, just as our family does, enjoy these delicious moofins every now and then.


No comments:
Post a Comment
Would like to see your comments or share some of your favourite recipes.