Monday, 2 November 2015

Almond Pudding Cake for Augustines Apricots

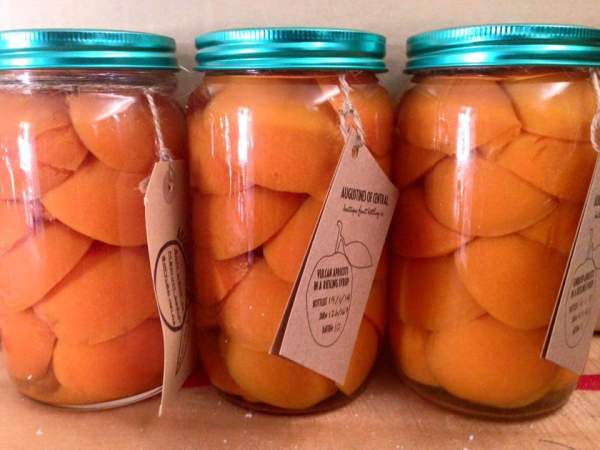
I've been experimenting with my favourite pudding cake recipe to showcase Augustines of Central preserved apricots.
FB_IMG_1436933360943#3
Augustines of Central apricots are stocked in Auckland in the Fine Food section of Auckland's Smith and Caugheys department store.
Our son Gus is the producer of these perfect preserves and he gave me a challenge recently. Could I find a good cake recipe for his apricots? Gus is an excellent chef but really cakes are not his specialty. He was never the one hovering around the cake mixer as a child.  First up I tried a rustic cake recipe from Nigel Slater that Gus suggested.
20150912_182104
It was good sized cake but I felt the apricots were a little lost in the cakeyness.
So I turned to my often used Almond Pudding Cake recipe from Hugh Fearnley-Whittingstall's "River Cottage Everyday". It's a light cake with a higher ratio of fruit to cake.
A pudding cake can be served warm as a pudding or dessert with cream, custard or yoghurt, or cut up cold with a tea or coffee.
20151006_171403#1
The original recipe uses sweet dessert apples that keep their shape. (Cooking apples or tart apples have too much malac acid to keep their shape). I have used pears and they work really well so try some of those sweet Winter Nelis pears featured in my previous post.
20150909_123459#1
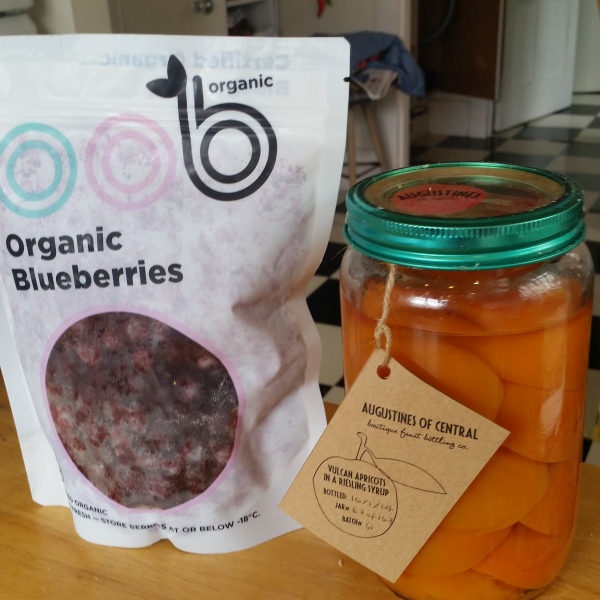
I used OOB organic blueberries from Omaha north of Auckland.
My first experimentation with the Almond Pudding Cake recipe was to use Gus's suggested combination of blueberries and his apricots. I liked this idea for three reasons. First, using two summer fruits preserved in time, one quick frozen and the other in a preserving jar.  Second, using fruits from two ends of New Zealand - north of Auckland for the blueberries and Central Otago for the apricots. Thirdly, the colour combination is gorgeous.
20150912_172304
I decided to make this cake again to take to our community garden's work day shared lunch to get some feedback.
20150924_180659
This time I cut up the apricots to ensure everyone would get some apricot and to make it more like a cake than a pudding.
I got a great response from my fellow gardeners but I felt it didn't really need the blueberries. The apricots could stand on their own. So too could the blueberries work solo as a feature fruit in this Almond Pudding Cake.
20150617_165338

Apricot and Almond Pudding Cake

This cake recipe is for a 20 cm springform cake tin, but as I only have a 22 cm tin so used that. It still works but the cake doesn't reach quite the height it would in a 20cm tin. It comes out a little more like a flan which is fine for a dessert.
Grease your tin and line the base with baking paper and preheat the oven to 170°C.
Ingredients:
150g butter softened
125g caster sugar
2 medium eggs
1 tsp almond essence (optional - if you like extra almond flavour - I prefer not to add this)
75g self-raising flour
75g ground almonds (or blanched almonds whizzed in a food processor - and I have used whole almonds ground into a meal as well)
Pinch of salt
For caramelizing of the fruit:
8-9 Augustines of Central apricot halves
25 g butter
1 heaped tbsp of brown sugar
To save time and effort just place the apricots on top without the caramelising as unlike the apples the apricots are already cooked. But I enjoyed the extra sweetness as the apricots are lovely and tart and the caramel does create a rich coloured crust.
If using other fruits than the apricots like the original apples you will need 3-4 apples or pears, or around 1½ cups of frozen berries.
It's also an option to add a little cinnamon when caramelising the fruit.
Method:
Sift the self raising flour, keeping aside 1 Tbsp of flour and then mix in the ground almond or almond meal. The almond meal is made from whole almonds not blanched ground almonds.
20150912_170000
It's important to beat really well the butter and sugar until the sugar almost melts. The secret is to just soften the butter so that it will cream or fluff up.  If too melted it will become a sugar slurry.  Many a time I have left the bowl in the oven too long.  You can fix this by quickly taking out the butter and sugar from the hot bowl and throw into the freezer for around 10 minutes and then repeat the beating process.
20150912_170909
It's much easier to use a cake mixer, but you can opt for a bit of a workout and beat with a wooden spoon.  Add the eggs one at a time.  To prevent curdling add 1 Tbsp of the flour measurement with the second egg.
This creaming process will ensure your cake is light, as will sifting the flour.
The final step is to fold in the dry ingredients.  It's important you fold rather than stir or beat to keep the mix light and airy.  My little kitchen helper, Beau, filmed me demonstrating this action.
YouTube...click on this link: Beau filming folding flour for cake
Screen Shot 2015-10-28 at 12.39.45 pm
One of the perks helping with baking for Beau is getting the opportunity to lick the mixer.
Spoon the cake evenly into the prepared tin. It's best to start the caramelising while making the cake to ensure the cake goes into the oven quickly.
20150924_180255
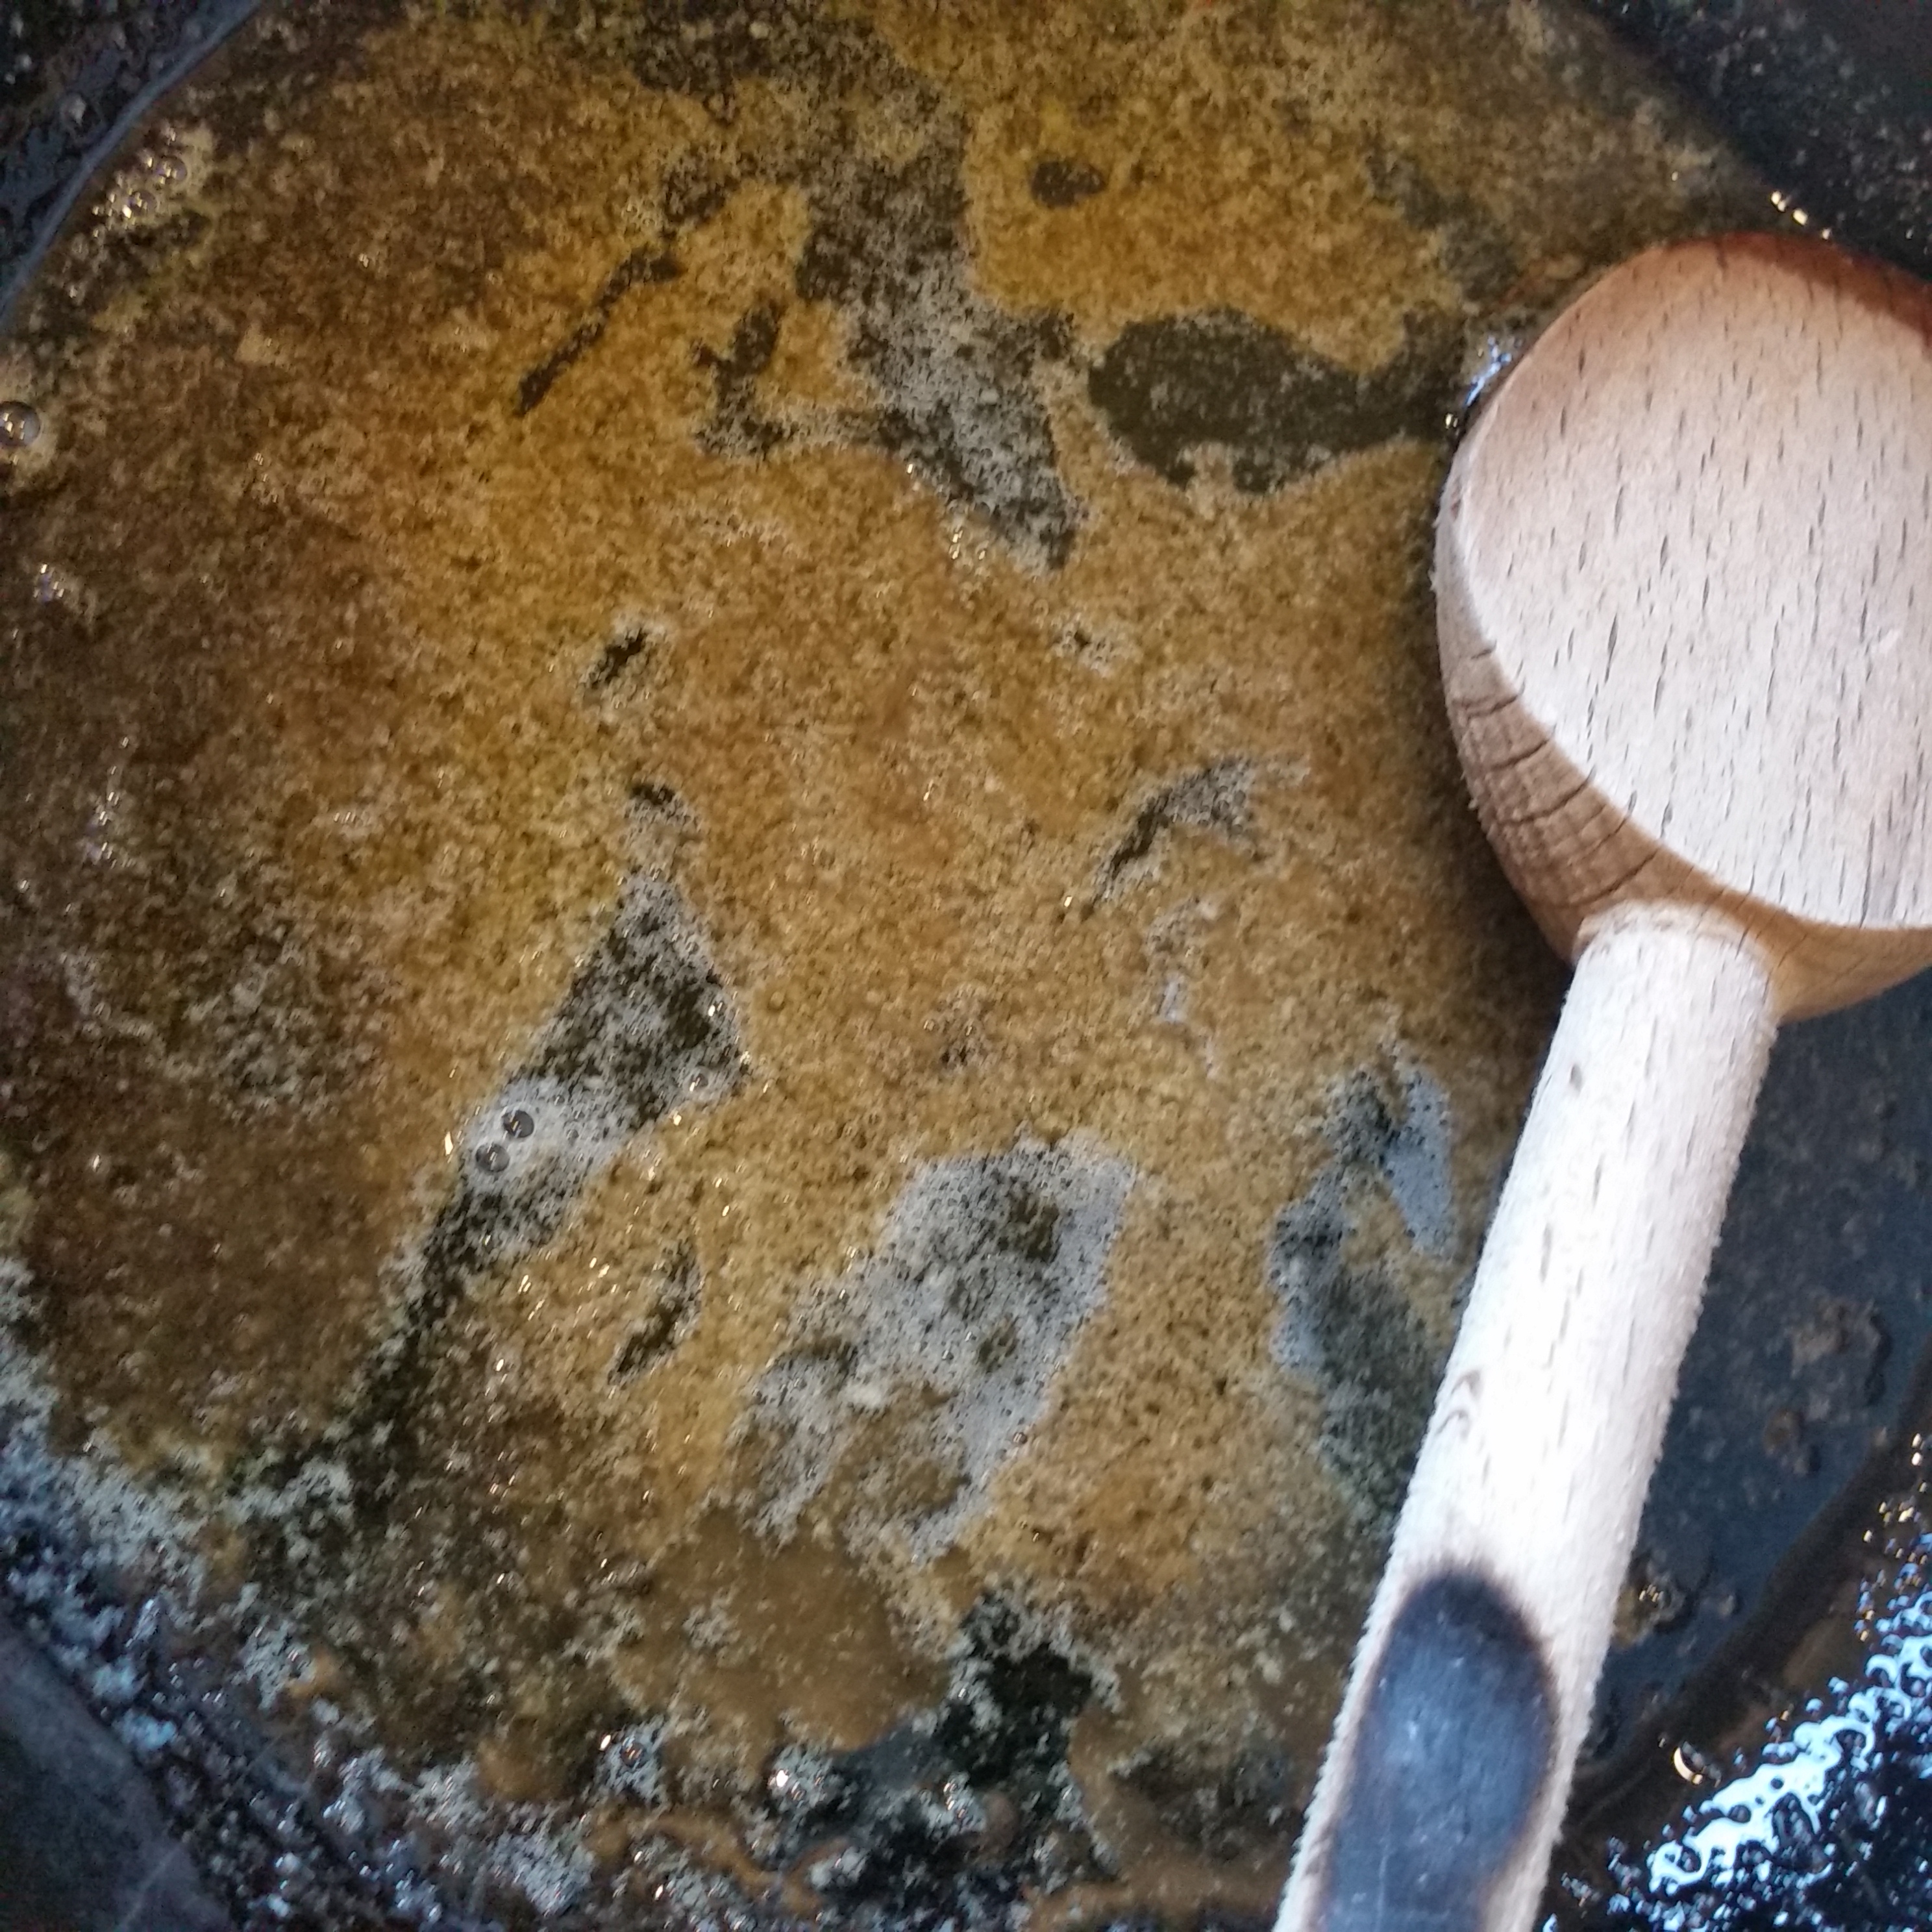
Melt the brown sugar and butter in a heavy pan and let it sizzle to caramelise a little.  Then add your fruit.  I put the apricots cut side down and only for a minute or two. The apples and pears need to partly cook for about 5 minutes. Keep the pan moving so that they don't stick.
20150912_171623
Now it's time to place the fruit on top of the cake mix.
The apple and pears I would do as Hugh suggests and slightly dig them into the cake mix so that they are in the middle of the cake.  I prefer to just place the apricots on top.  The cake will rise around them but it's nicer to see a glimpse of their colour on top of the cake.

Pour over the caramelised juices and bake for around 50 minutes at 170°C.  Be guided by the smell - if you can smell it, the cake is probably getting ready - but to make sure test with a skewer into the centre to see if it comes out clean. Another indication that it's cooked is when it begins to shrink from the edge of the pan.
IMG_3386
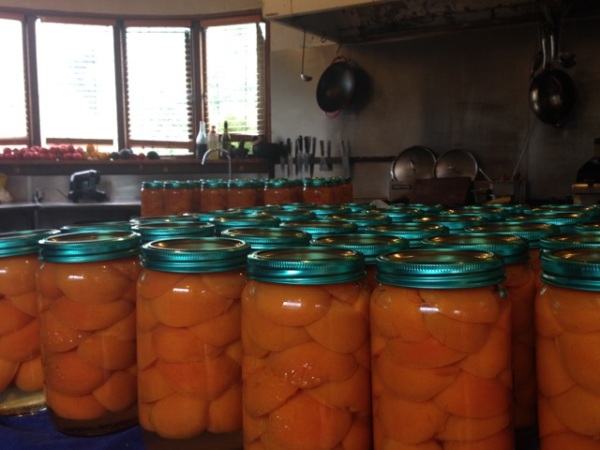
Augustines apricots on the production line.
Preserved apricots contain as much vitamin A, antioxidants and minerals as a fresh apricot  Unripe fruit will only have half the vitamin A compared to a ripe apricot. All of Gus's apricots are tree ripened so by staying on the tree longer Augustines of Central preserves will have maximum vitamin A content.
20140103_161113#1
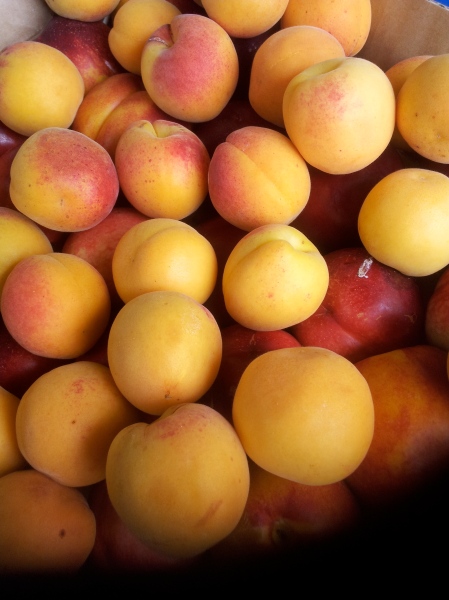
Juicy apricots on top of other stone fruits from Seamans on Basil Road off Meeanee Road, Napier
There is nothing more delicious than a tree ripened apricot and as a fresh fruit it's a low calorie fruit with loads of nutrients including vitamin C and soluble fibre. But it's not easy sourcing sweet fresh apricots.  The best apricots in New Zealand come from Central Otago and Hawkes Bay and to get the best, you need to buy from roadside stalls or the excellent Hawkes Bay Farmers Market in Hastings every Sunday or Otago Farmers Market in Dunedin every Saturday morning over the summer.
Not that most of us have to be persuaded to eat an apricot as they are delicious. But it's interesting that apricots, raw, cooked or dried, are particularly good for improving eyesight especially for those of us with ageing eyes who spend a lot of time in front of screens being exposed to harmful blue light.
I've succeeded in my small challenge to find a cake recipe to complement Gus's preserved apricots. It's also a recipe that will work with any seasonal fruit.  
image3
Photos of Gus preserving pears by Photo by Mickey Ross of Micimage
image4
Gus has a much bigger challenge ahead.  He has to source more Central Otago spray free orchards because his 2015 stock has already sold out and more stockists are lining up to stock Augustines of Central in 2016. 

Saturday, 24 October 2015

Winter Nelis Pears with Clover Honey

What is it with pears?  Bite into a pear from the tree and its like a rock. But, take it inside, keep it warm, and in time it transforms into a luscious, soft, juicy eating experience.  Not too much time, mind, or it will turn into a brown mushy mess.
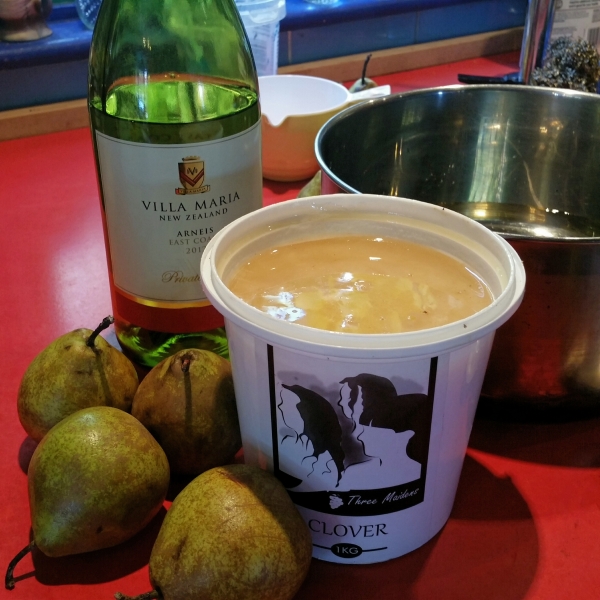
Pears are lovely cooked. I discovered some sweet Winter Nelis pears at the Otago Farmers Market.  This late season variety of pear is the perfect shape and size for my proposed poached pear recipe, a deliciously simple dessert.
20151010_101659
Winter Nelis pears Pyrus communis , a European pear,  was first bred in Belgium by M. Jean Charles Nelis in 1818.  It’s a late season pear that stores well.  When first picked it will be green with russet colouring on skin and as it ripens the green turns yellow. It has a sparse spreading growing habit and requires another pear pollinator to fruit. Its blossom can withstand late spring frosts but does like a warm spot to grow.
Winter Nelis…she may be an ugly sister in the pear family with her russet skin and dumpy appearance, but her sweet buttery flesh and reputation as an excellent cooker made me choose her over the more elegant pears on show.
20151011_172120
One of the treasurers of the Otago Farmers Market are the orchardists that get up absurdly early on a Saturday morning to travel 2-3 hours to offer market goers in the city of Dunedin the sweet fruits produced by their Central Otago sunshine.
2015-10-21 10.30.29
One vendor I make a point of visiting up on the railway platform is Stan Randle from Harwarden orchard.  Stan runs a 12 hectare orchard at Earnscleugh Road,  near Alexandra, and offers spray free fruit.
He often has other produce for sale from his 12 hectare property and I spied a selection of honey for sale.
20151021_103156
There was some thyme honey that will have good anti-bacterial qualities from the wild thyme growing in Central Otago but I will always go for a good creamed clover honey as this was the honey of my childhood.
Chatting to Stan,  he proudly told me that his “Three Maidens” clover honey is named after his three grand daughters, Tyla, Brie and Shelby. How lucky they are, not only to have the honey named after them, but to be given the experience and benefits of their grand parents growing food in a natural way.
20151011_183506

Honey Poached Pears

2 cups water
1 cup white dry wine
8 Tbsp of honey
4 Tbsp quince jelly
piece of lemon peel shaved with vegetable peeler
Juice of a lemon – first to cover freshly peeled pears to stop browning and then remainder added to poaching liquid
Optional:  you can add a cinnamon stick or a piece of ginger as an additional flavouring.  As I used quince jelly along with the honey I wanted the quince flavour to shine through so didn’t add other flavourings, but you can be brave and experiment.
20151011_150801
Quince jelly was not included in the original recipe I found but I wanted to add the warm colour of quince to the poaching liquid.
If using a stronger flavoured honey than the clover honey,  I suggest perhaps using less honey and add a little sugar.  Brown sugar helps to make a rich colour to your poaching liquid.  I have used Creme de Cassis (black currant liqueur) to create a darker red liquid.
20151011_154057
Choose a pot that will fit the number of pears you want to poach.  It’s best to create a snug fit in the pot, as the more pears the less poaching liquid you’ll need.  I managed to cook ten small Winter Nelis pears.
Assemble the poaching liquid of water, wine, honey/jelly, and the lemon zest.
2015-10-21 10.28.15
You can use any white wine or even a rose. I used what I had available, a rather good Villa Maria Arneis from the East Coast.
Place the poaching liquid on the stove and heat to a simmer. Put the peeled pears into a bowl that has the juice of a lemon and make sure the skinned pear is coated with lemon juice.
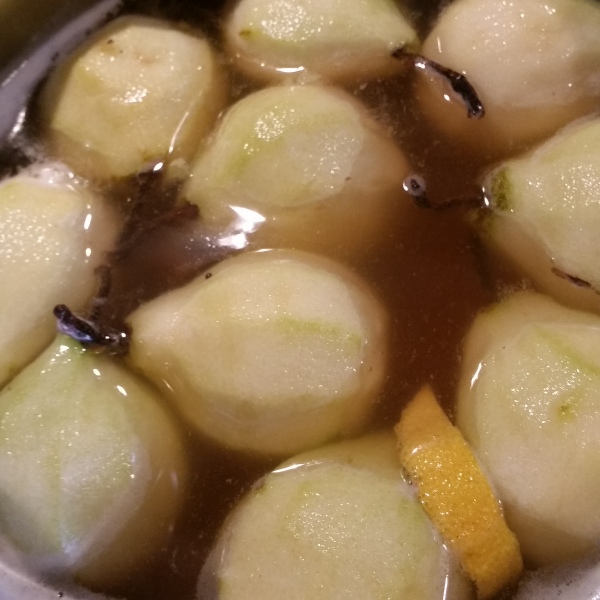
Now gently place the whole pears into the pot of poaching liquid with the aid of a slotted spoon. The liquid should cover the pears – add extra water if required. I usually drain in any remaining lemon juice into the liquid as well.
20151011_150635
To keep the pears submerged cover the pot with a sheet of baking paper and weigh down with a smaller sized pot lid or plate.  I find the pot lid is easier to get out than a plate because of the lid handle.
20151011_150733
If you don’t weigh down the pears they will naturally bob up to the top and their tops could discolour.
20151011_152841
Use a fork or skewer to test if cooked.  If easily pierced then they are cooked.  With a slotted spoon take out the pears leaving the poaching liquid in the pot.
20151011_162953
Turn up the heat to make the syrup thicker by reducing the water content with a rolling boil. The liquid doesn’t have to be that thick but try to reduce to a syrup consistency.
20151011_163019
These pears can simply be enjoyed with a good ice cream or cream.
One of my favourite winter desserts are poached pears served with a warm slice of rich gingerbread.
20151011_183506 - Version 2
I served Stan’s Winter Nelis pears with almond biscuits and a dollop of organic Mascarpone cheese. Made by Italian artisan cheese makers from Auckland, Il Casaro,  the mascarpone and their fresh Mozzarella were two treats I brought to share with our friends from the South.
When I asked if I could take his photo for my blog posting, Stan told me about his favourite blog, Stone Soup from Australia.  I checked it out and I agree blogger Jules Clancy has created a great read. There are lots of quick and healthy cooking ideas and it’s worth checking out.

Friday, 16 October 2015

Roasted olives with garlic, rosemary and orange

With Christmas just a couple of months away (yes hard to believe but it is) its time for me to  think about what edible gift I could make for family and friends.  A simple recipe I discovered transforms ordinary olives in brine into big flavoured olives by roasting in oil and other flavours.
2015-10-14 18.31.12
I discovered the recipe at the Fred’s Cafe in Ponsonby in the cookbook “Danks Street Depot” by Australian chef Jared Ingersoll based in Sydney.

Roasted Olives with Rosemary, Garlic and Orange

Makes enough to fill a 6 cup jar.
1 kg olives in brine (don’t use pitted olives but you can use any variety you like)
1 bulb of garlic – broken into cloves, with the skins left on
3 stalks of rosemary
Generous pinch of ground black pepper
about 500ml or 2 cups of extra virgin olive oil
Peel and juice of 2 oranges, peel cut into strips
20151007_170247
I chose Kalamata olives that came in a large plastic container – you want good olives but often there are bargains if buying in bulk.
First step is to rinse the brine off the olives and put into a large saucepan.  I used a large wok shaped pot.
20151007_171019
Next add the garlic, orange peel cut into strips, and rosemary.
20151007_171158
Add the olive oil, pepper and bring up to a very gentle simmer and simmer for about ten minutes.
20151007_171557
Now add the freshly squeezed orange juice.
20151007_174244
Simmer again and continue to cook until the garlic is soft.  The olives are supposed to be done when they start to wrinkle – about another 20 minutes.
20151007_191621
As I chose larger kalamata olives it took about an hour and they still   weren’t wrinkled, but the orange and garlic was certainly soft so it was time for bottling.
20151007_194529
The jars need to be sterilised. The olives made a smaller jar to give away as a gift and a large preserving jar with the olives that I put in the fridge to bring out over the Christmas period. They will keep for a couple of months.
20151014_174420
I used the oil to brush on bruschetta to toast in the oven and drizzled a little more over the finished pieces plus using some olives.   
It could be the perfect value added gift to make this Christmas because after enjoying the olives the remaining flavoured oil can be used in salad dressings or drizzled over bruschetta.

Friday, 9 October 2015

The Traditional English Muffin..or is it American?

Traditional English muffins are small yeast breads; flattish circles with a gritty surface, torn apart rather than cut and usually toasted. But perhaps they should be Traditional American muffins - not English muffins.
20151003_151025
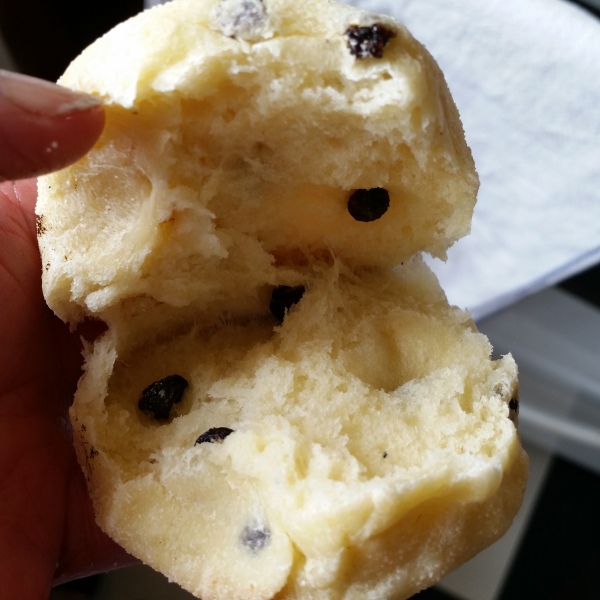
To tear apart it's best to first cut a small slit with a knife then use your fingers to gently tear in half. That rough surface makes craters for butter to soak in.
It's true muffins were adapted from the United Kingdom griddle-baked breads like the crumpet and bannock, but the English muffin we recognise today was first made in the USA and exported back to Britain.
20151003_152553
This mix makes plenty of muffins in one hit and some can be frozen for another day.
In my August posting Moofins - Nana's Bran Muffins, I revealed today's cake-like muffins were adapted from the original yeasted muffin cooked on the stove top. This sparked my interest to make a home made version of the Traditional English muffin and coincided with finding"The Bread Bible" by American bread baker Beth Hensperger in a second hand bookshop.  I now had a good recipe to follow...

Traditional English Muffins

(Makes 12 -15, 9-10 cm or 3-4 inch muffins)
¼ cup warm water
1 tbsp active dry yeast
pinch of sugar
4-4½ cups of high grade flour
2 tsp salt
1 large egg at room temperature
1¼ cups warm milk*
2 tbsp butter melted
½ cup currants (optional)
¼ cup of semolina or cornmeal for sprinkling when rolling out
*for those of you who are fermenters producing milk kefir,  I replaced 1 cup of the milk with kefir but didn't heat it as it can easily separate. I did heat ¼ cup of milk with the melted butter to ensure the mix was warm.  The idea of heating is to ensure the environment is warm for the yeast to activate quickly.  I did take the kefir out of the fridge to come up to room temperature before using.
Pour the warm water into a small bowl. Sprinkle the yeast on top with a pinch of sugar, stir and leave in a warm place until bubbles appear - about 10 minutes.
20151003_105418
Get the yeast to start to react before adding flour. You can see the small bubbles appearing on the surface and this indicates activity.
In a large bowl place 2 cups of the flour and 2 tsp of salt and form a well in the centre of the flour. Break in the egg, add milk (or kefir), butter and yeast mixture and beat until creamy, for about 2 minutes.
20151003_105335
Add all the liquid ingredients before mixing.
Beth used a whisk for this first process but I used a wooden spoon.  (This part can be processed with a cake mixer).
20151003_110252
Currants are optional but they are one of my favourite dried fruits as they add a tang as well as a sweet hit. Experiment with other spices too. I thought next time I might use dried barberries that will deliver more tang than sweet.
Add the remaining flour, half a cup at a time along with the currants (if using) and mix with a wooden spoon until a soft dough forms that just clears the side of the bowl.
20151003_110752
The dough will be rather sticky but at this point just add a tablespoon of flour at a time.  Remember the softer the dough, the lighter the muffin.
Turn the dough out onto a lightly floured surface and knead until smooth and springy - at least 3 minutes.  (If using a cake mixer switch to a dough attachment to knead for 2-3 minutes making sure the dough springs back when pressed - you may wish to do the final kneading by hand.)
20151003_112112
When a dough has been kneaded enough it has a silken appearance.
Wash clean the bowl and add some olive oil in the base. Turn the dough once over to cover with oil and cover the bowl with plastic wrap and place in a warm spot for the dough to double in size.  This may take 1½ hours.
pic20151003195948
You can see here the work the yeast has done rising the dough - before and after shot.
Once the dough has risen, first step is to preheat an electric frypan or the oven with a pizza stone to 180°C. If you want to be authentic then heat a griddle or cast iron pan on the stove top to a medium heat.  The pan will be hot enough when you land a drop of water in the pan and it sizzles and dances across the surface.
Lightly sprinkle the work surface with the semolina or cornmeal.  This will prevent the soft dough from sticking and will give that distinctive grainy coating to the muffin. Gently deflate the dough and roll out to about 1.5 cm or ½ inch depth. Sprinkle the top as well to prevent the rolling pin sticking to the dough.
20151003_143057
Another handy use for Augustines of Central preserving jar lids - an ideal sized muffin cutter.
I experimented with a couple of biscuit cutters and a preserving jar lid to cut out the muffins. I quite like the scalloped edges of the larger biscuit cutter.
20151003_143455
All the trimmings put together and roll out again. Cover the made muffins with a cloth or if its really warm in the kitchen put them in the fridge until ready to go on the skillet or oven to avoid them getting too puffy.  Beth didn't suggest the pizza stone - it was something I thought may work as the  griddle or girdle in Wales was originally stone.
20151003_150321
In a cast iron pan on the stove top you need to cook them for about 10 minutes each side but keep an eagle eye on them to avoid too much browning.  I wanted to avoid the muffins being doughy on the inside so after the first couple on the stove top I put the rest into the oven on the pizza stone.
20151003_150242
Muffins in the oven on my red ceramic pizza stone.
I didn't spray the stone with oil but I did the pan where I finished them off to give them that brown crust. It may be a cheats way but I did ensure the interior of the muffin was cooked without the exterior being too crusty.
20151003_144337
This is the first one cooked completely on the stove top. It's a little too crusty I think.
The early American settlers didn't have the luxury of using an oven when they began making this bread. I'm sure they got very good at ensuring the griddle was not too hot so that the muffins cooked through without burning on the outside. Today we are so often time poor, so baking that takes too long doesn't get made. Using a pizza stone in the oven and finishing off on the top I think is the best compromise.
2015-10-03 19.41.41
Muffins baked on a pizza stone and then browned on the stove top.
The muffins once cooked should be cooled on a wire rack before pulling apart and eating fresh or toasting.
20151004_152258
Best served straight from the toaster and buttered. The currants are optional but having them there adds little hits of sweetness without having the bread sweet. I also served the muffin with a poached egg and it was a delicious combination.
It takes a little effort to make these muffins but I was very pleased with the final outcome.  They are easy and are far better than the shop bought versions.  I have enough muffins to freeze for another time or to give away as an edible gift.
2015-10-03 19.37.47
I now call them Traditional Muffins not English Muffins, plus I have a feeling making these delightful breads will be an ongoing tradition in the Hayden household.