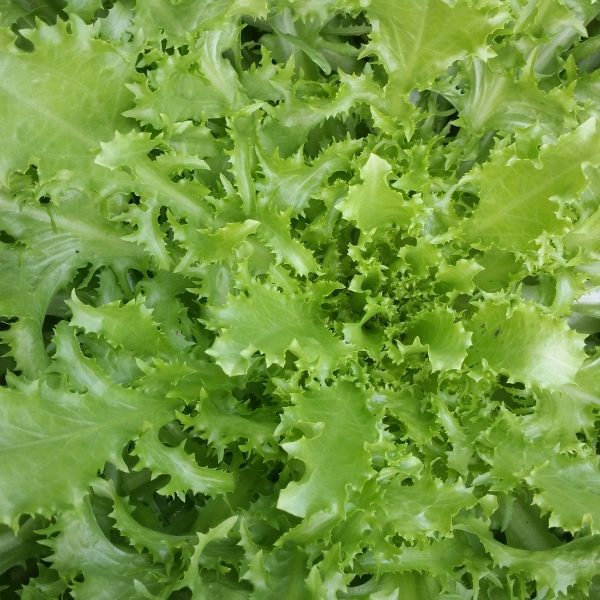
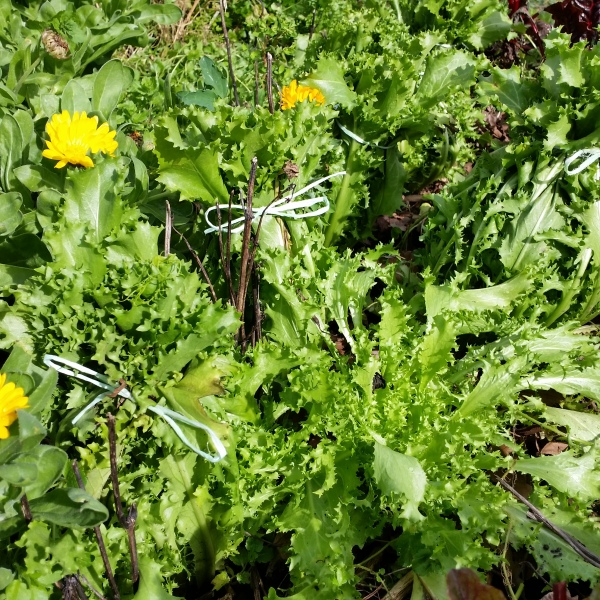
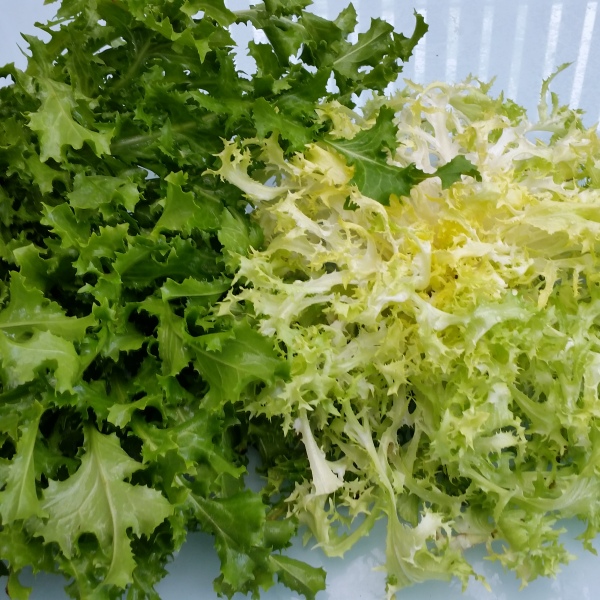
Curly Endive is a most handsome leafy green vegetable with an expansive rosette of curly edged leaves. Europeans, especially those from Mediterranean countries, enjoy endive's slightly bitter flavour, but here in New Zealand it' s not a vegetable easily found in shops. It may be because of its bitter reputation, so for me the only way to try endive is to grow it myself.
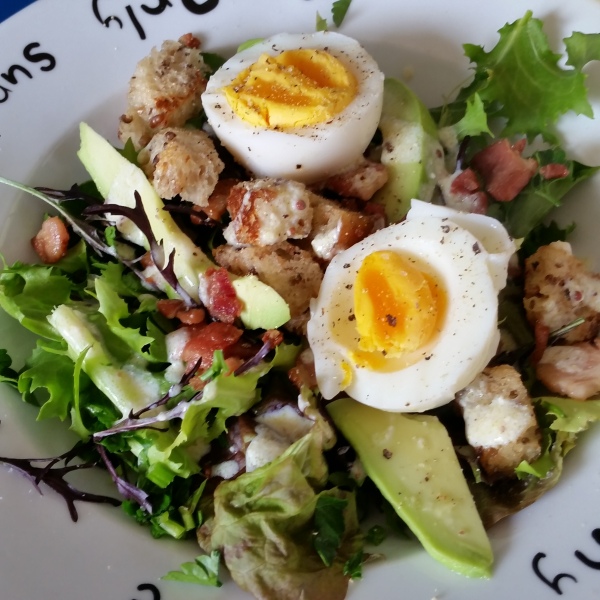
The seeds grew easily and by early autumn I had transplanted many seedlings. All through winter I've been harvesting curly endive, using it to create a variety of salads.
Lettuce has had to step aside. Endive's robust flavour and not so fragile leaves work well with winter dishes. But the best recipe for endive arrived via one of the gardeners at our Sanctuary Community Garden. Corinne is Spanish and told me how to prepare endive pizza.
It's a little different from a standard pizza and a whole lot healthier. After all endive has only 17 calories per 100grams in weight, but has a high fibre content, plus vitamin A and K.
Pizza de la endibia
Curly endive in Spain is called la endibia so I think this recipe deserves to have its Spanish name, Pizza de la endibia.
Curly endive grows into quite a large head of green leaves so depending on how many pizzas you make, use half or a whole plant. You should prepare the endive before you start rolling out the pizza dough.
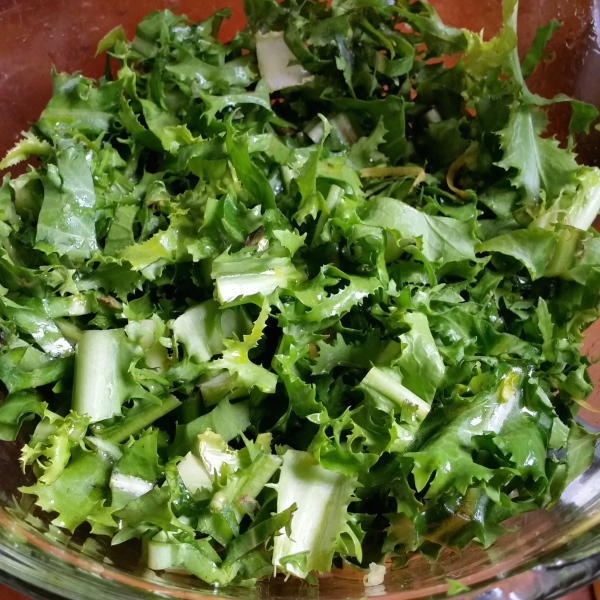
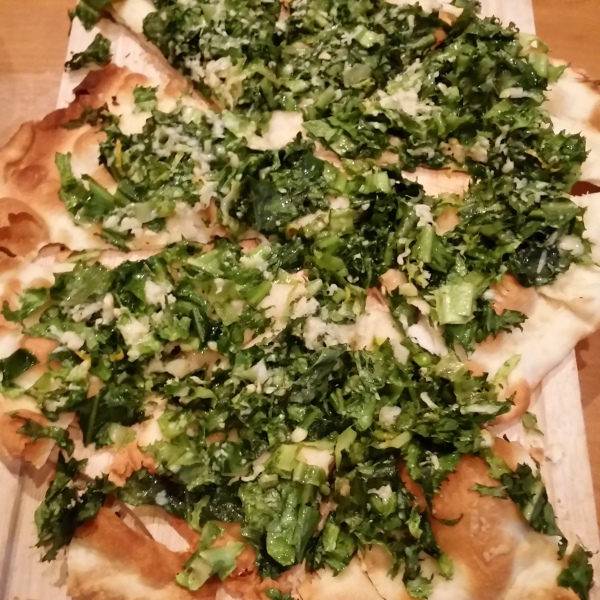
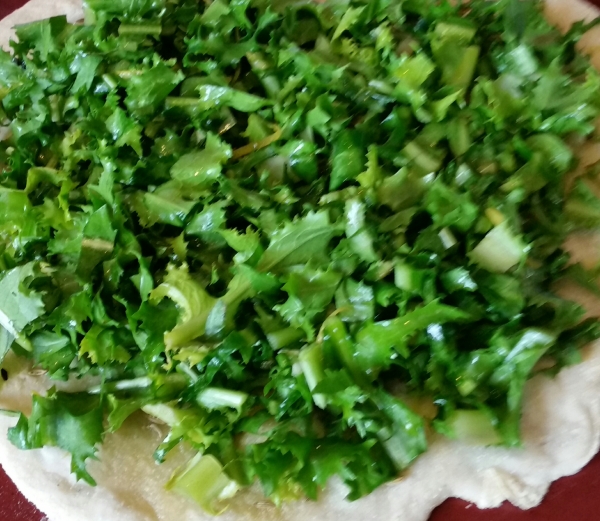
- Prepared endive ready for the oven.
I roughly slice the leaves and place into a bowl. Add lemon zest, garlic crushed into salt and then mixed through the leaves using your fingers. Season with salt and pepper, drizzle over some avocado or olive oil and finish with a good squeeze of lemon juice. Toss as you would a salad.
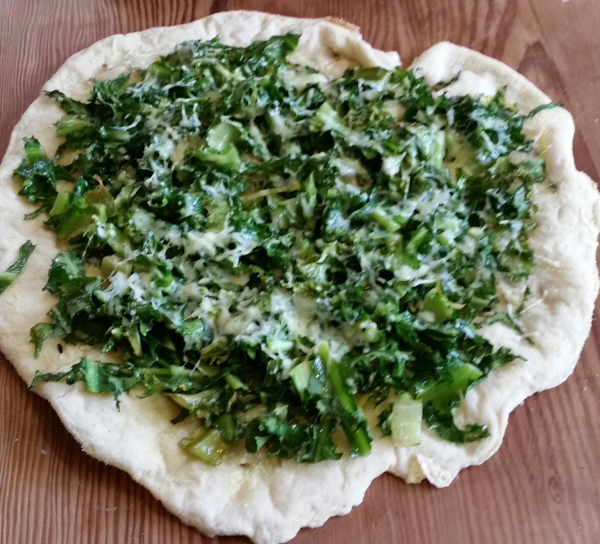
Finely grate some parmesan ready to sprinkle over the top or if you are lucky enough to have on hand some sliced fresh mozzarella.
The easiest pizza dough recipe I use is from River Cottage Baker Daniel Stevens ( from "River Cottage Handbook No.3: Bread") where he just mixes everything up at once, rather than dissolving the yeast separately. The finished dough will keep in the fridge for up to two weeks and will make up to 8 small pizzas.
Perfect Pizza Dough
250g strong white bread flour
250g plain white flour
5g powdered dried yeast
10g salt
325ml warm water
About 1 tbsp olive oil
1 handful coarse flour (semolina or polenta), for dusting
250g plain white flour
5g powdered dried yeast
10g salt
325ml warm water
About 1 tbsp olive oil
1 handful coarse flour (semolina or polenta), for dusting
In a bowl, mix the flours, yeast, salt and water to form a sticky dough. Mix in the oil, then turn out on to a clean work surface and knead until smooth and silky.
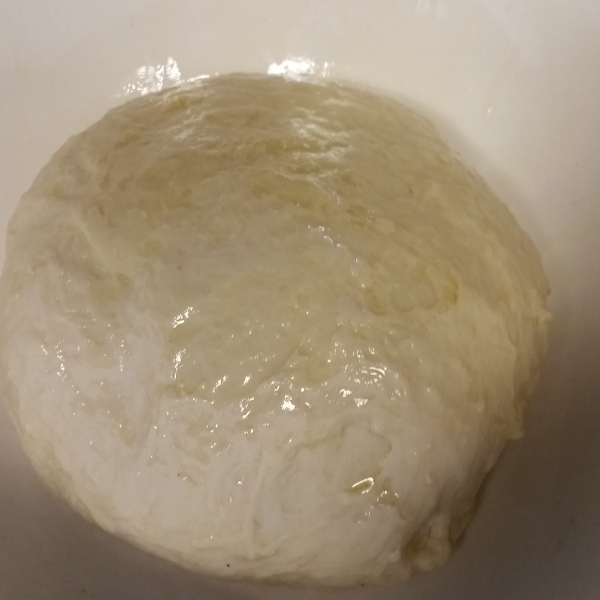
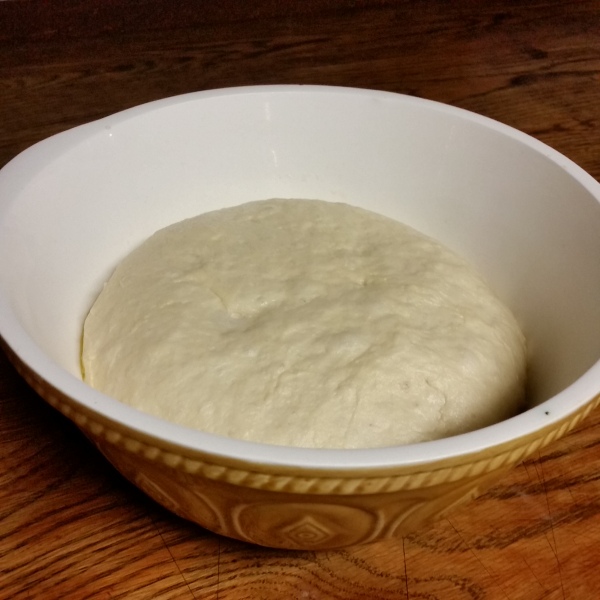
- After you have completed your kneading from a sticky mess to an elastic dough sprinkle with a little olive oil, and smear around the bowl to ensure the rising dough doesn't stick to the bowl.
Kneading takes time and the action of kneading ensures your pizza dough has the required elasticity to successfully make it roll out really thinly. Cooking usually requires your constant attention but making bread dough is a repetitive action for your hands, allowing your mind wander anywhere. So when not pressed for time making bread can be a really relaxing activity. (Alternatively, if you have a mixer with a dough hook, mix the flours, yeast, salt and water on a low speed, add the oil and knead for 10 minutes or make the dough in a bread maker).
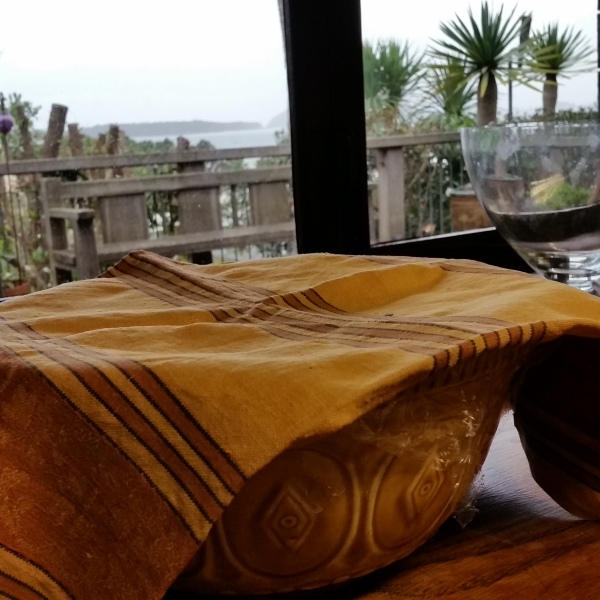
- The dough is resting on a sunny bench top at my friend Julia's Matua Lodge in Tauranga. It has one of the best kitchens I have ever worked in with wonderful kitchen window views. Lingering making dough, dreaming this was my kitchen, was very enjoyable.
Shape into a round, and leave to rise in a clean bowl, covered with plastic wrap, and a tea towel on top and kept warm until doubled in size.
Preheat the oven (and pizza stone or substitute) as high as it will go. Take a lemon-sized piece of dough and sprinkle the board with polenta or semolina to keep your pizza from sticking to the board and adding extra crunch to your base. Roll it into a 5mm thick round. The aim is to make a very thin pizza base and you get to know what best fits your pizza stone.
As Hugh Fearnley-Whittingstall from River Cottage explains a good pizza base is hard to accomplish in a domestic oven, "And I won't lie – it can be tricky getting that crisp, slightly blistered crust in a domestic oven. The key is to whack the thing up as high as it will go and give it time to get to temperature. If you have one, put in a pizza stone to heat up too. If you haven't, a large, unglazed quarry tile (terracotta unglazed tile) is a good substitute, or at a pinch use a heavy baking sheet, preheated as hot as it will get."
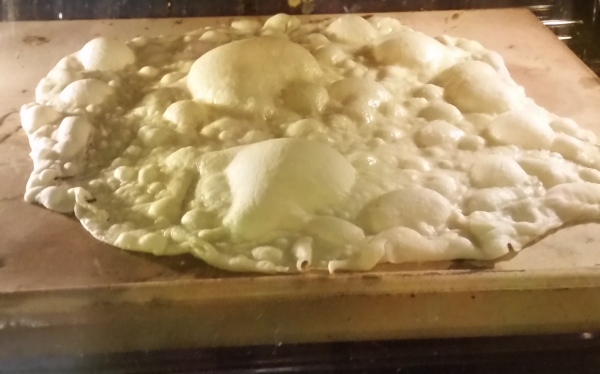
- Julia's oven went really hot which ensured the bread had plenty of bubbles and went really crisp.
Usually with pizza you put the base onto a tray, add the toppings and slip the pizza onto the hot stone just brought out of the oven. The aim is to do this as quickly as possible so as not to allow the stone or tray to cool down too much.
However, this recipe nearly completely cooks the base before adding the curly endive topping. I usually add a slathering of oil and a sprinkle of either fennel seeds or thyme leaves.
Then sprinkle with parmesan or place mozzarella slices. Feta also works well.
You don't have to wait long for this to cook at such a high temperature. You just want the endive to wilt.
Curly endive Cichorium endivia is from the Chicory family and while it is related it's not the same plant as the distinctive blue flowered chicory that you can find growing on roadsides, or the cultivated chicory shoots that are also called endive or Belgium endive or witloof.
Curly endive is from the same tribe of plants as dandelion, and their common trait is their bitter tasting leaves. To reduce some of the bitterness of endive it has traditionally been "blanched" while growing ...meaning covered with a pot or tying up the outer leaves to create pale leaves in the centre.
When I tried this with my endive, they did look quite hard case with their curly leaves all tied up. The centres did go a pale yellow but it also became a really nice home for every slug and snail in the garden and some of the leaves started to rot. I'm not sure if the Auckland warmer climate has helped but the leaves don't seem to be that bitter anyway, so next year I won't bother doing the blanching.
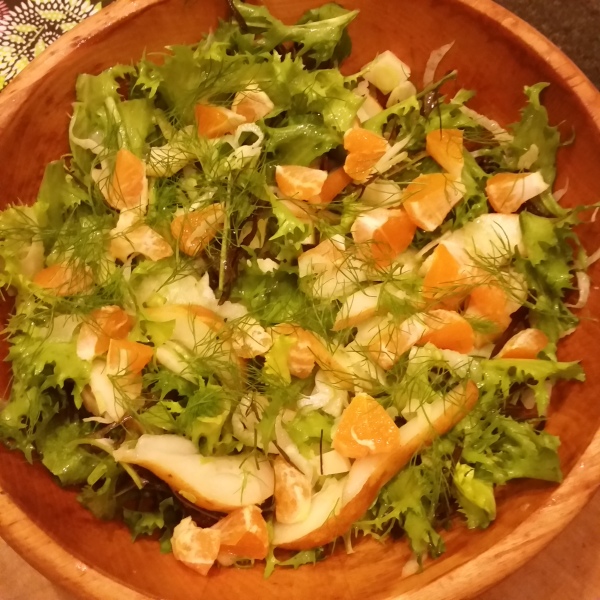
To counter any bitterness in curly endive leaves I tend to add some sweet winter fruit like mandarins and pears to my endive salads. Shaved bulb fennel is also a perfect salad companion for curly endive.
I am pleased that I got to know Curly Endive and will certainly grow it again next year.
Postscript:
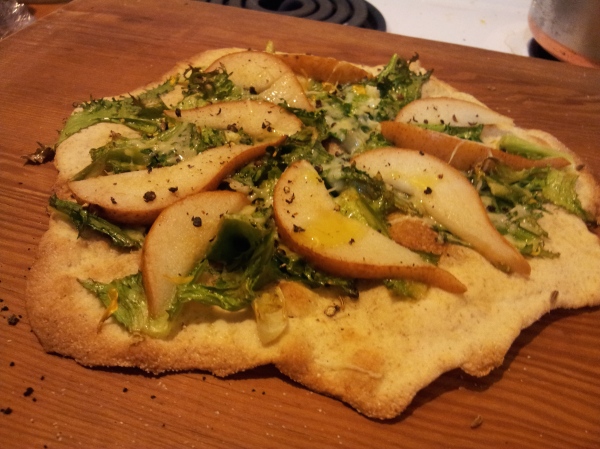
I made Pizza de la endibia a couple of days ago but this time added a taste of sweet with a pear sliced on top of the endive...and it was a winning combination that I would like to pass on to you.


No comments:
Post a Comment
Would like to see your comments or share some of your favourite recipes.